OpenCode 是一款开源的 AI 编程代理工具,可以在终端、桌面客户端或 IDE 扩展中接入多种大模型使用,可帮助开发者进行代码分析、智能编码等多种任务。本文介绍如何在 OpenCode 中配置与使用腾讯云大模型 Token Plan 个人版。
前置条件
在开始配置前,请确保您已完成以下准备工作:
1. 订阅 Token Plan 套餐。
2. 获取 API Key。
3. 安装 OpenCode:请参见 OpenCode 安装指南,您可以选择桌面应用版下载。也可以在命令行中执行以下命令安装:
npm install -g opencode-ai
安装完成后,执行以下命令检查,输出版本号则表示安装成功:
opencode -v
配置模型
OpenCode 支持通过桌面客户端或命令行配置文件接入腾讯云 Token Plan 个人版,两种方式任选其一即可。
方式一:桌面客户端配置
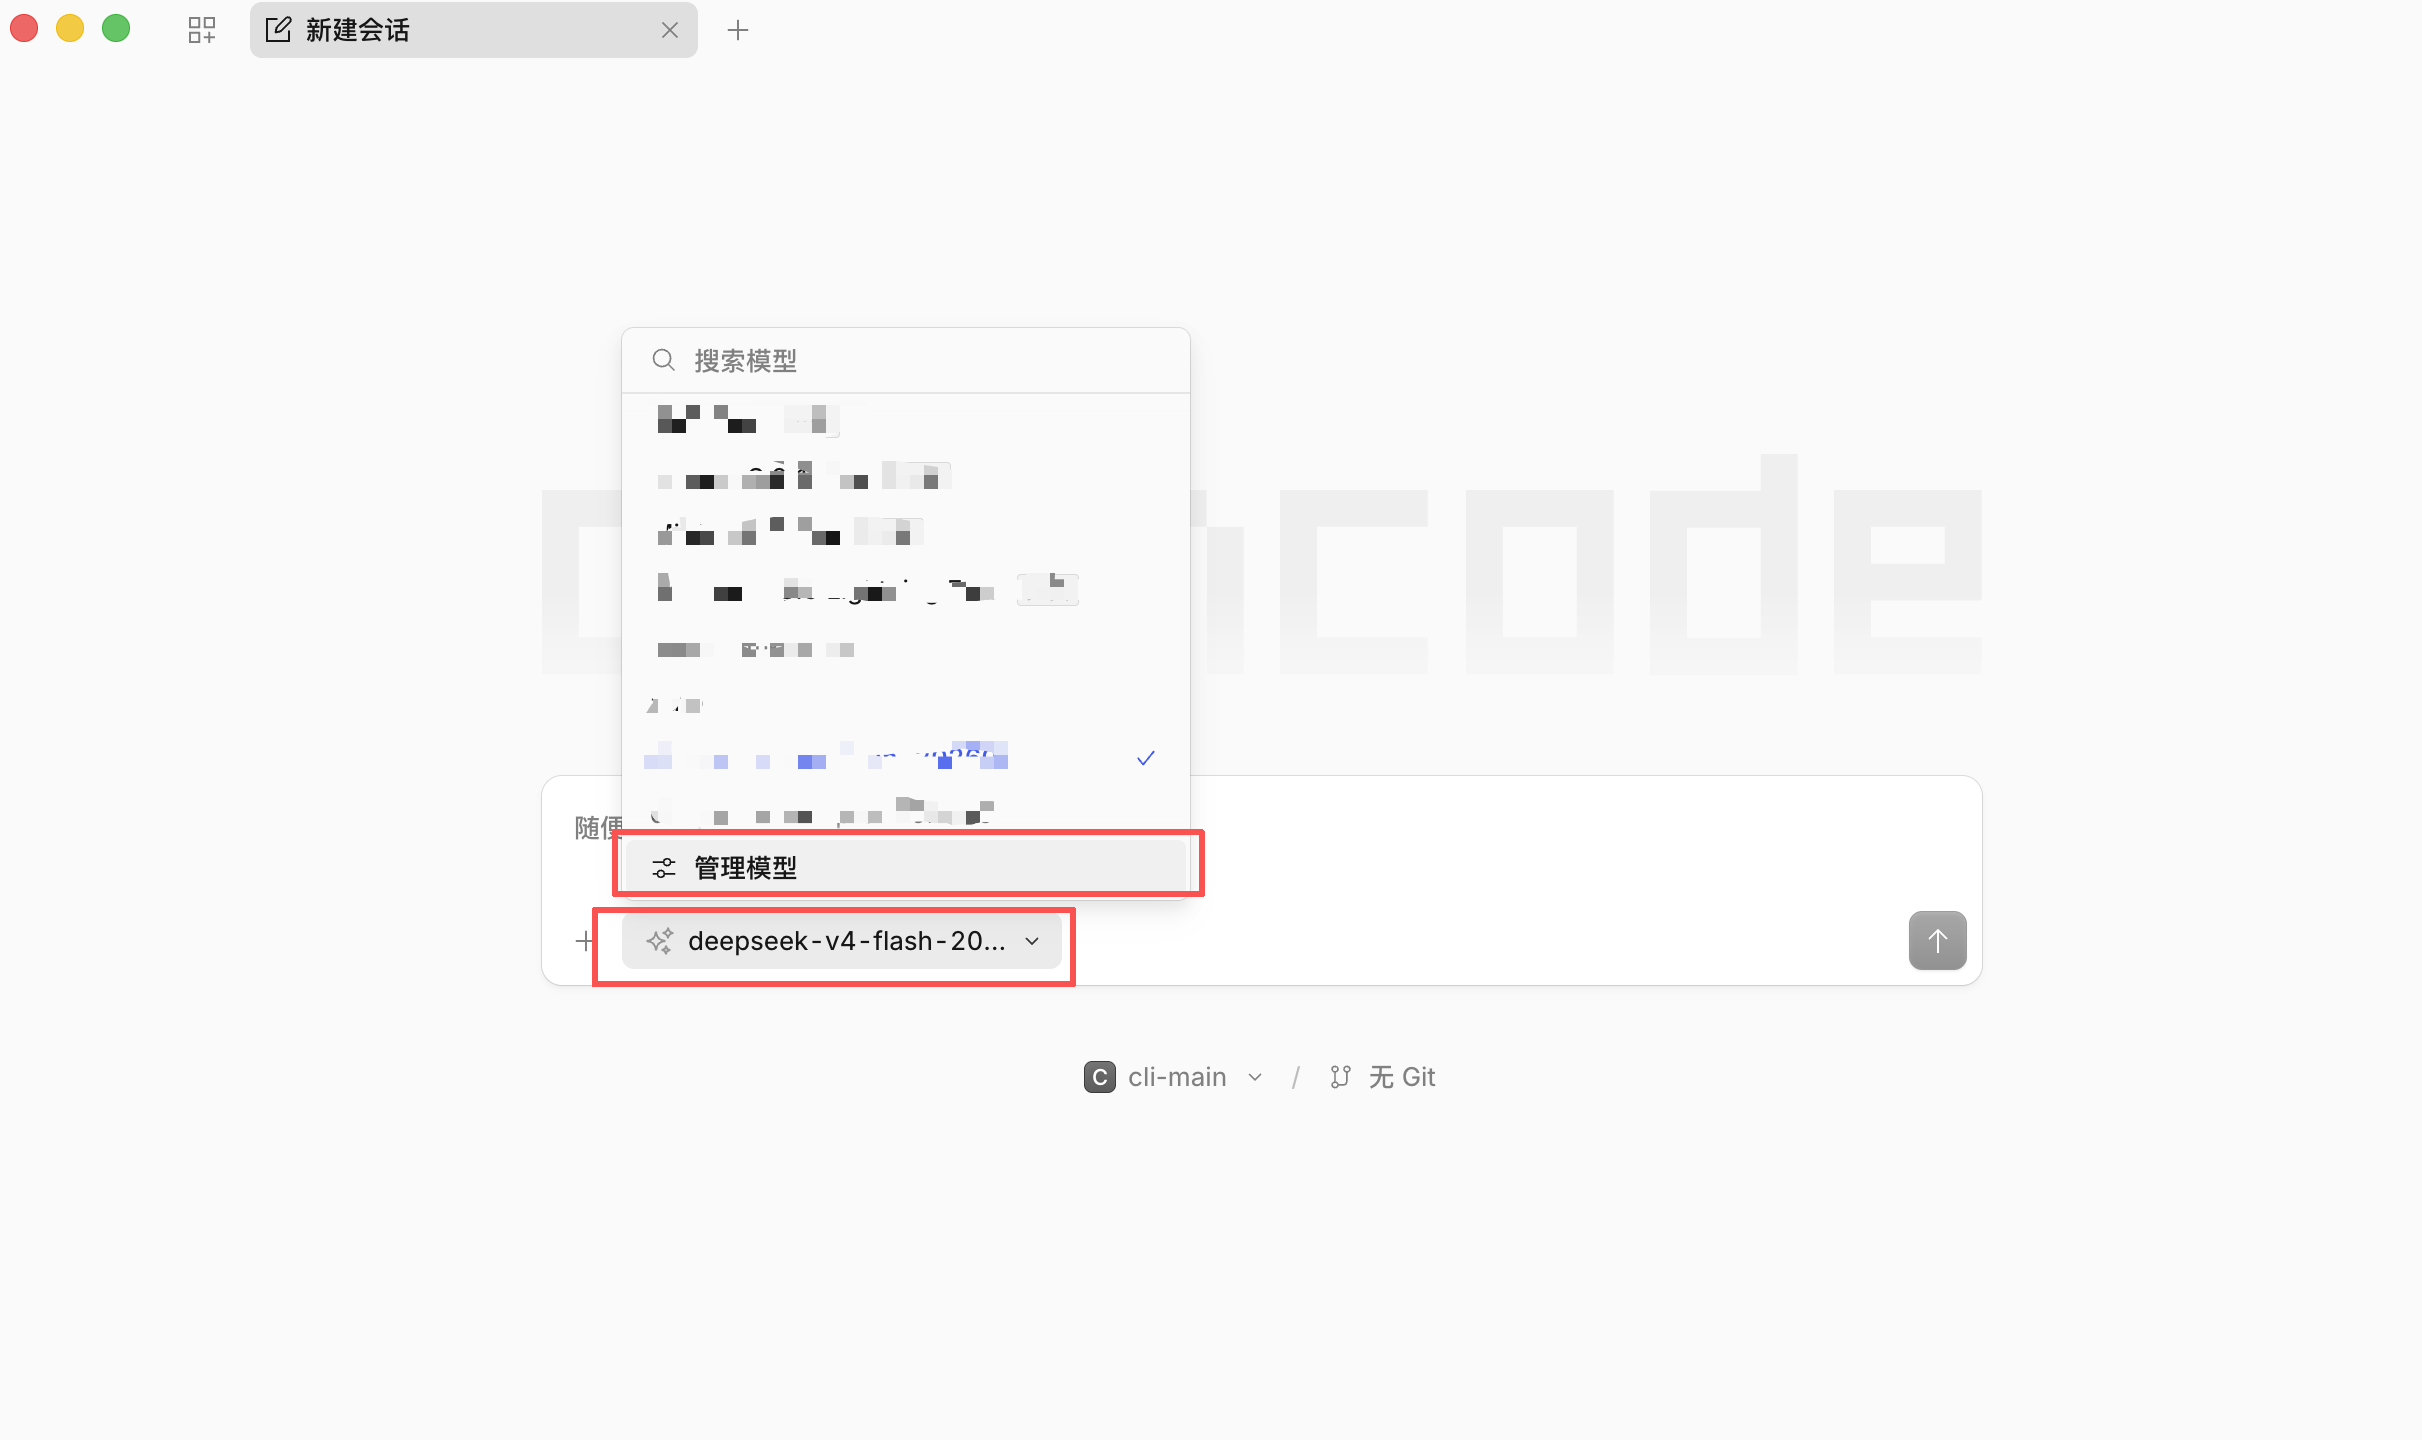
1. 打开 OpenCode,在对话界面,单击管理模型打开模型设置界面。
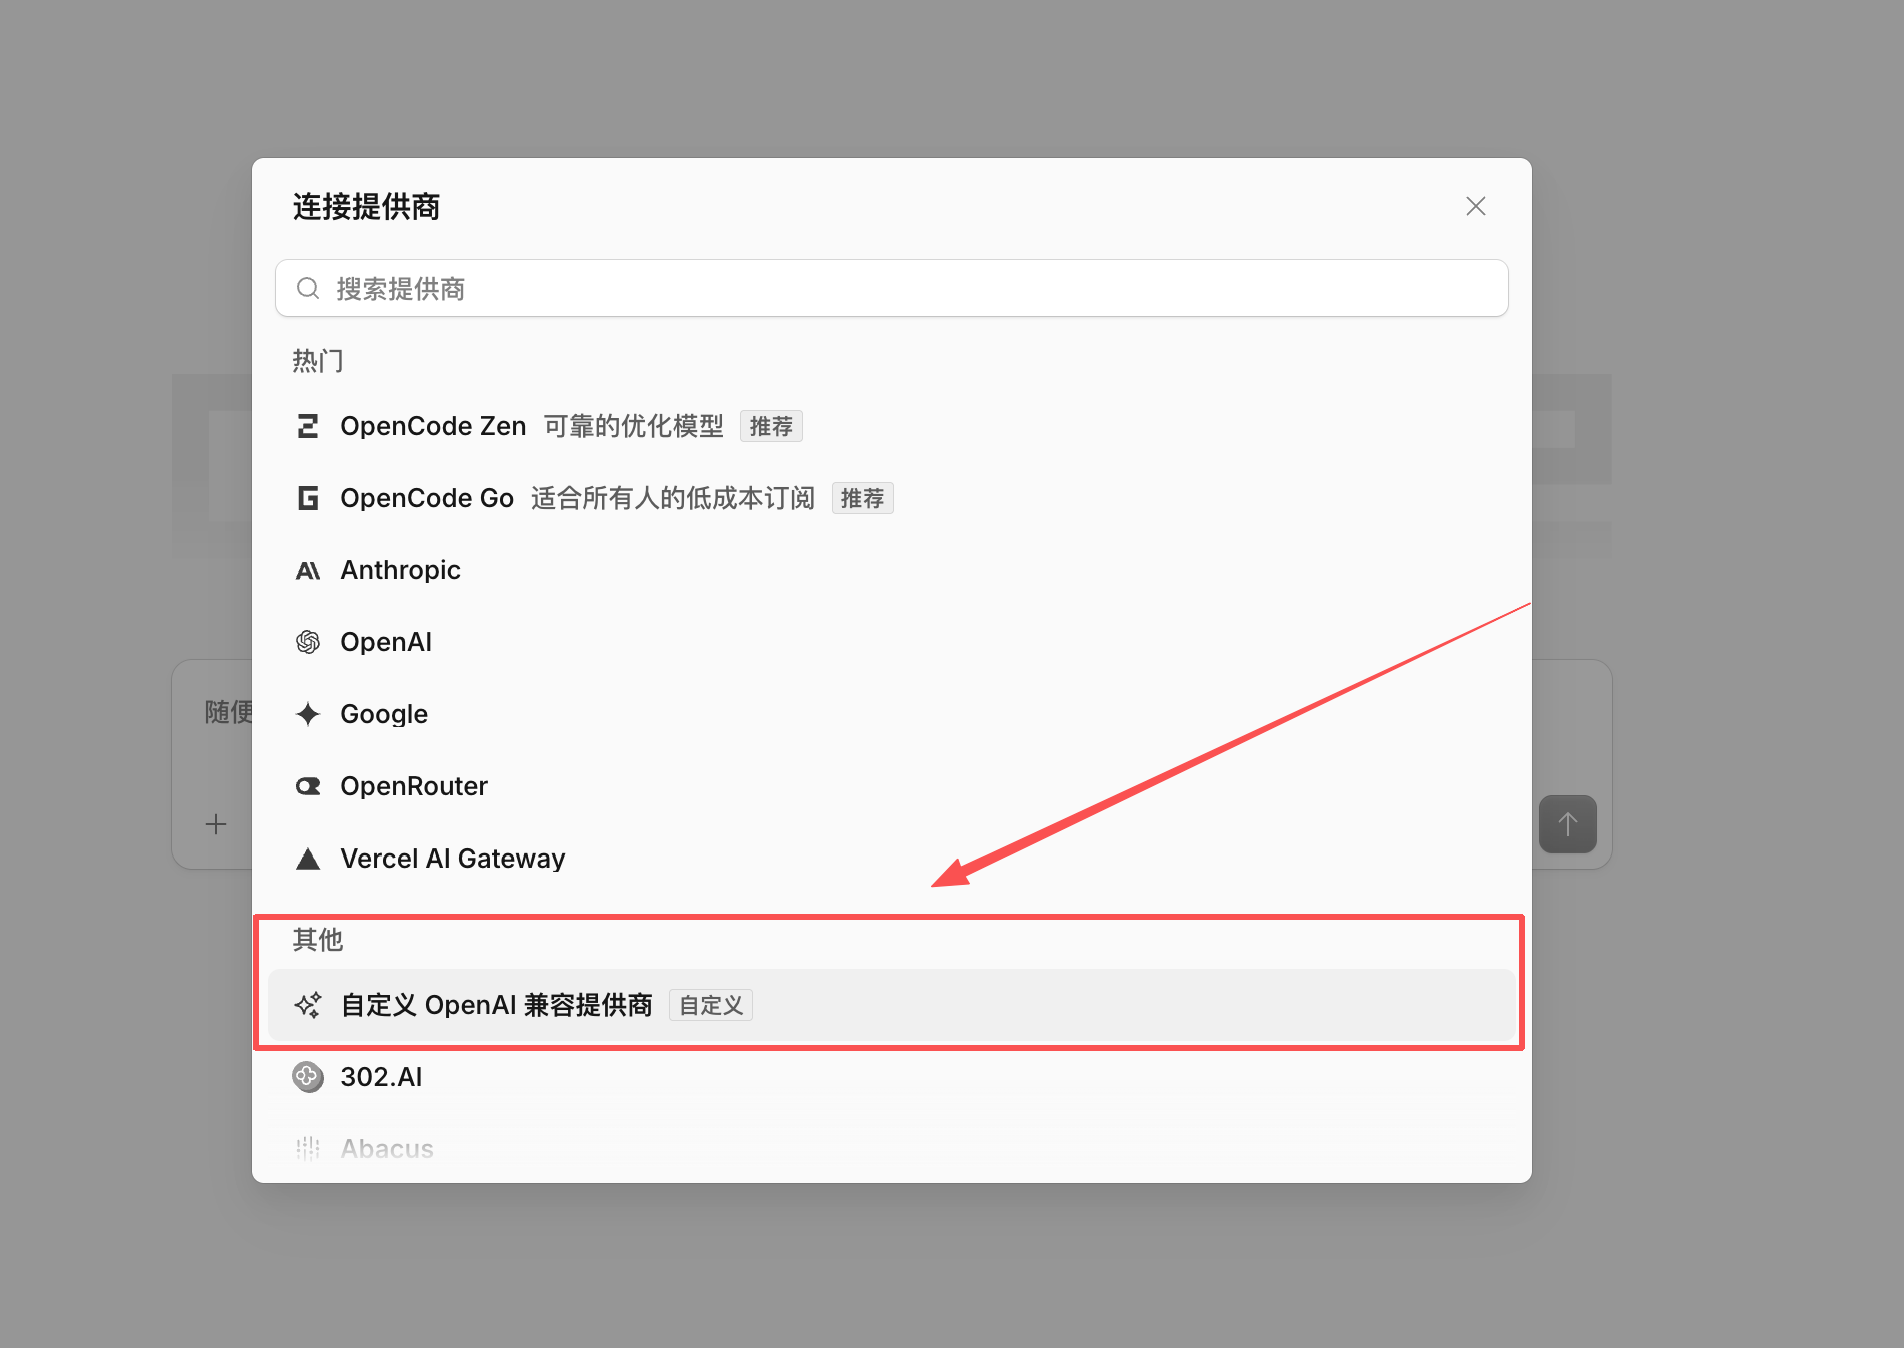
2. 在打开的弹窗中,单击+ 连接提供商,选择自定义 OpenAI 兼容提供商。
3. 在打开的弹窗中,点击填写信息并提交:
提供商 ID:tencent
显示名称:Tencent TokenPlan
基础 URL:https://api.lkeap.cloud.tencent.com/plan/v3
API 密钥:填写您的 API Key。
model-id 和模型:根据您购买的套餐,填入 套餐支持的模型 ID。
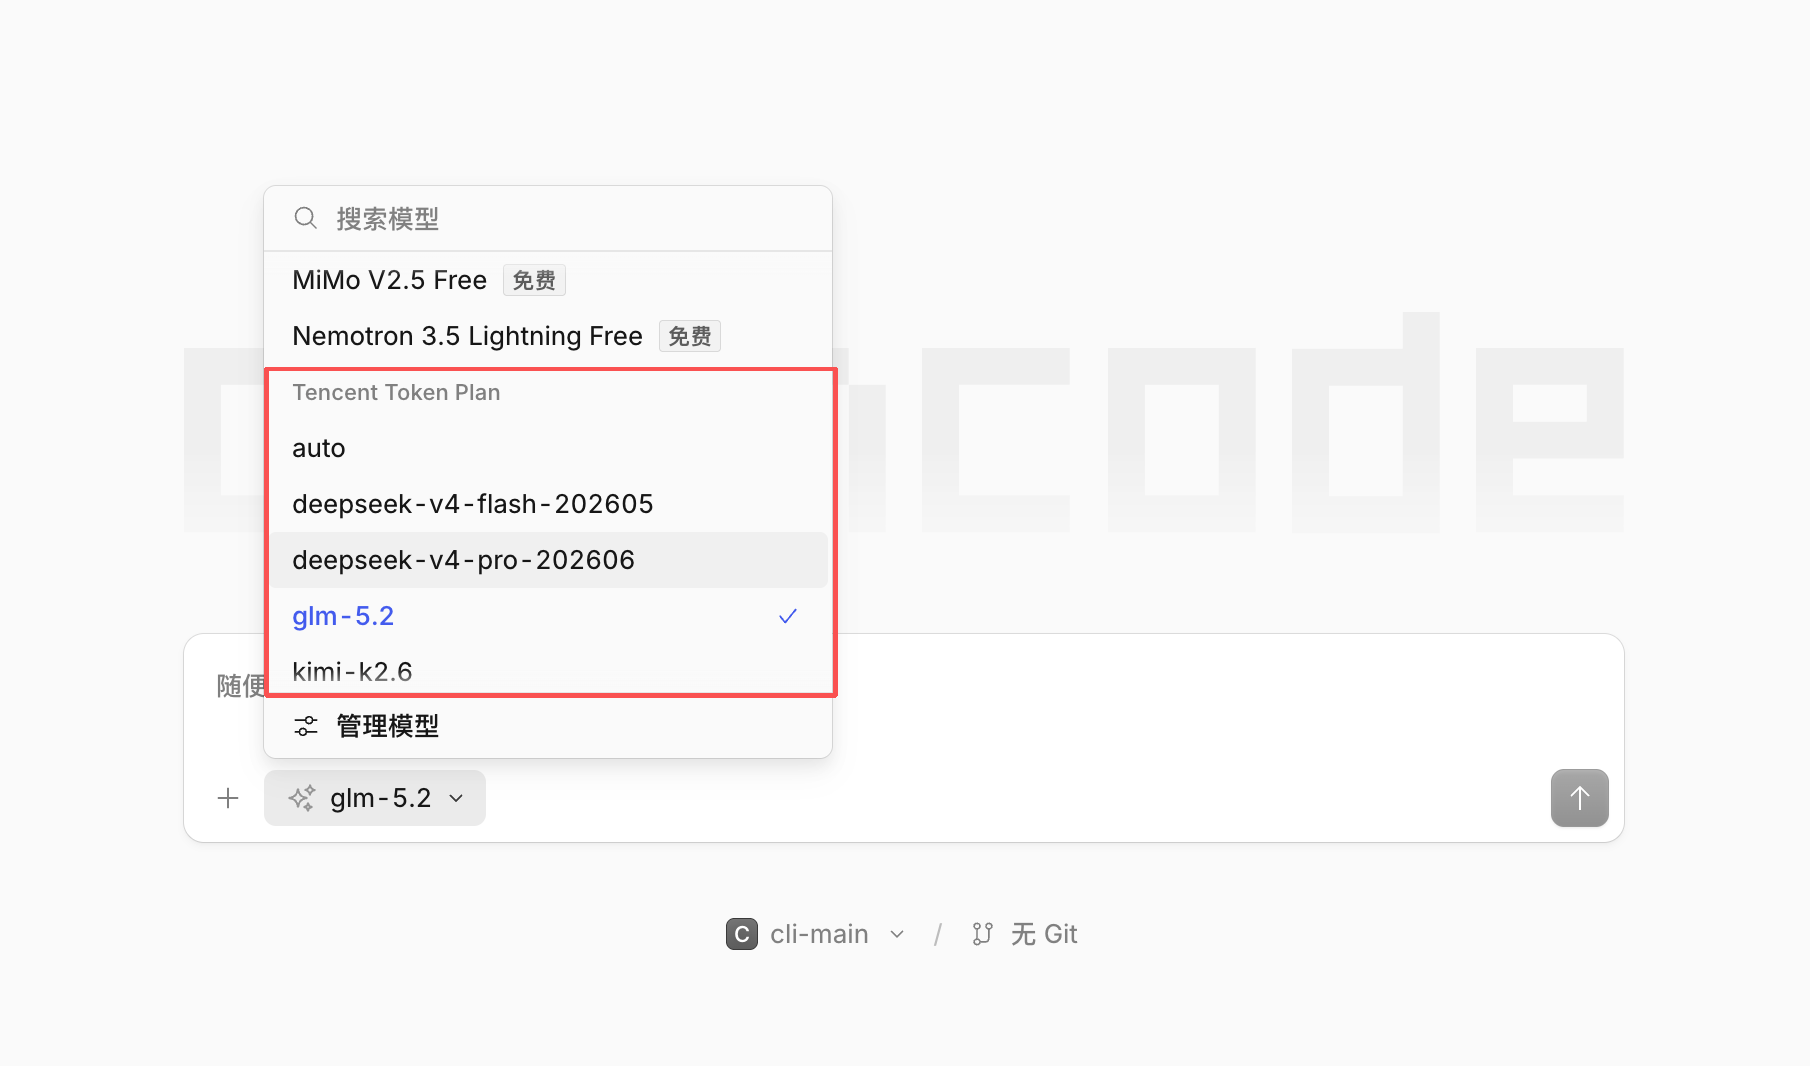
4. 在对话窗口的模型列表中,找到并选定新配置的模型,即可进行对话使用。
方式二:命令行配置
1. 修改 OpenCode 的配置文件,配置文件路径如下,配置文件不存在时新建即可。
macOS / Linux:
~/.config/opencode/opencode.jsonWindows:
C:\\Users\\<用户名>\\.config\\opencode\\opencode.json2. 将以下内容复制粘贴到
opencode.json 文件中并保存。请您将 $your_api_key 替换为 Token Plan 专属的 API Key:说明:
模型列表:下方配置已按通用 Token Plan 套餐预填当前支持的模型;Hy Token Plan 套餐支持的模型(hy3、hy4-preview 等)及各套餐最新模型清单请参见 套餐支持的模型 ID,按下述条目格式在
models 中增减即可。配置 Model ID 时,必须使用全小写格式。{"$schema": "https://opencode.ai/config.json","provider": {"tencent": {"npm": "@ai-sdk/openai-compatible","name": "Tencent TokenPlan","options": {"baseURL": "https://api.lkeap.cloud.tencent.com/plan/v3","apiKey": "$your_api_key"},"models": {"tc-code-latest": {"name": "Auto","modalities": { "input": ["text"], "output": ["text"] },"options": { "thinking": { "type": "enabled" } }},"deepseek-v4-flash-202605": {"name": "DeepSeek-V4-Flash 正式版 原厂直供","modalities": { "input": ["text"], "output": ["text"] },"options": { "thinking": { "type": "enabled" } }},"deepseek-v4-pro-202606": {"name": "DeepSeek-V4-Pro 正式版 原厂直供","modalities": { "input": ["text"], "output": ["text"] },"options": { "thinking": { "type": "enabled" } }},"minimax-m2.7": {"name": "MiniMax-M2.7","modalities": { "input": ["text"], "output": ["text"] },"options": { "thinking": { "type": "enabled" } }},"minimax-m3": {"name": "MiniMax-M3","modalities": { "input": ["text", "image"], "output": ["text"] }},"glm-5": {"name": "GLM-5","modalities": { "input": ["text"], "output": ["text"] },"options": { "thinking": { "type": "enabled" } }},"glm-5.1": {"name": "GLM-5.1","modalities": { "input": ["text"], "output": ["text"] },"options": { "thinking": { "type": "enabled" } }},"glm-5.2": {"name": "GLM-5.2","modalities": { "input": ["text"], "output": ["text"] },"options": { "thinking": { "type": "enabled" } }},"glm-5.3": {"name": "GLM-5.3","modalities": { "input": ["text"], "output": ["text"] },"options": { "thinking": { "type": "enabled" } }},"glm-5.3-flash": {"name": "GLM-5.3-Flash","modalities": { "input": ["text", "image"], "output": ["text"] },"options": { "thinking": { "type": "enabled" } }},"hy4-preview": {"name": "Hy4 preview","modalities": { "input": ["text"], "output": ["text"] },"options": { "thinking": { "type": "enabled" } }},"kimi-k2.7-code": {"name": "Kimi K2.7 Code","modalities": { "input": ["text", "image"], "output": ["text"] },"options": { "thinking": { "type": "enabled" } }},"kimi-k3": {"name": "Kimi K3","modalities": { "input": ["text", "image"], "output": ["text"] },"options": { "thinking": { "type": "enabled" } }}}}}}
3. 在终端执行以下命令启动 OpenCode:
opencode
4. 输入
/models,选择配置的模型,即可开始对话使用。


