brew 安装 nginx 配合PHP工作


1. 前言
环境介绍: mac book pro m1 2020
本文记录使用 brew 安装 nginx 配合PHP工作
2. 安装PHP
查看有哪些PHP版本可以安装
brew search php安装php7.2
brew install php@7.2切换 PHP 版本
brew-php-switcher 7.23. nginx的安装及基本配置
brew install nginx一、location /: 因为所有的请求都是以/开头的,所以下面的配置相当于匹配任意的URL
location / {
    root   html;
    index  index.html index.htm;
}
root: 站点根目录, 相当于Apahce的 DocumentRoot
DocumentRoot "/Users/liang/Sites"index: 默认访问的文件, 相当于Apahce的 DirectoryIndex
<IfModule dir_module>
    DirectoryIndex index.html index.php
</IfModule>二、location ~ \.php$: 匹配以.php结尾的文件
fastcgi_param: 将值中的 /scripts 改为 $document_root
fastcgi_pass: 如果请求时php文件,那么nginx会把请求转发到 127.0.0.1:9000, 其中 9000 是php-fpm的端口
location ~ \.php$ {
    root           html;
    fastcgi_pass   127.0.0.1:9000;
    fastcgi_index  index.php;
    fastcgi_param  SCRIPT_FILENAME  /scripts$fastcgi_script_name;
    include        fastcgi_params;
}
查看 php-fpm.d 目录下的 配置文件 www.conf
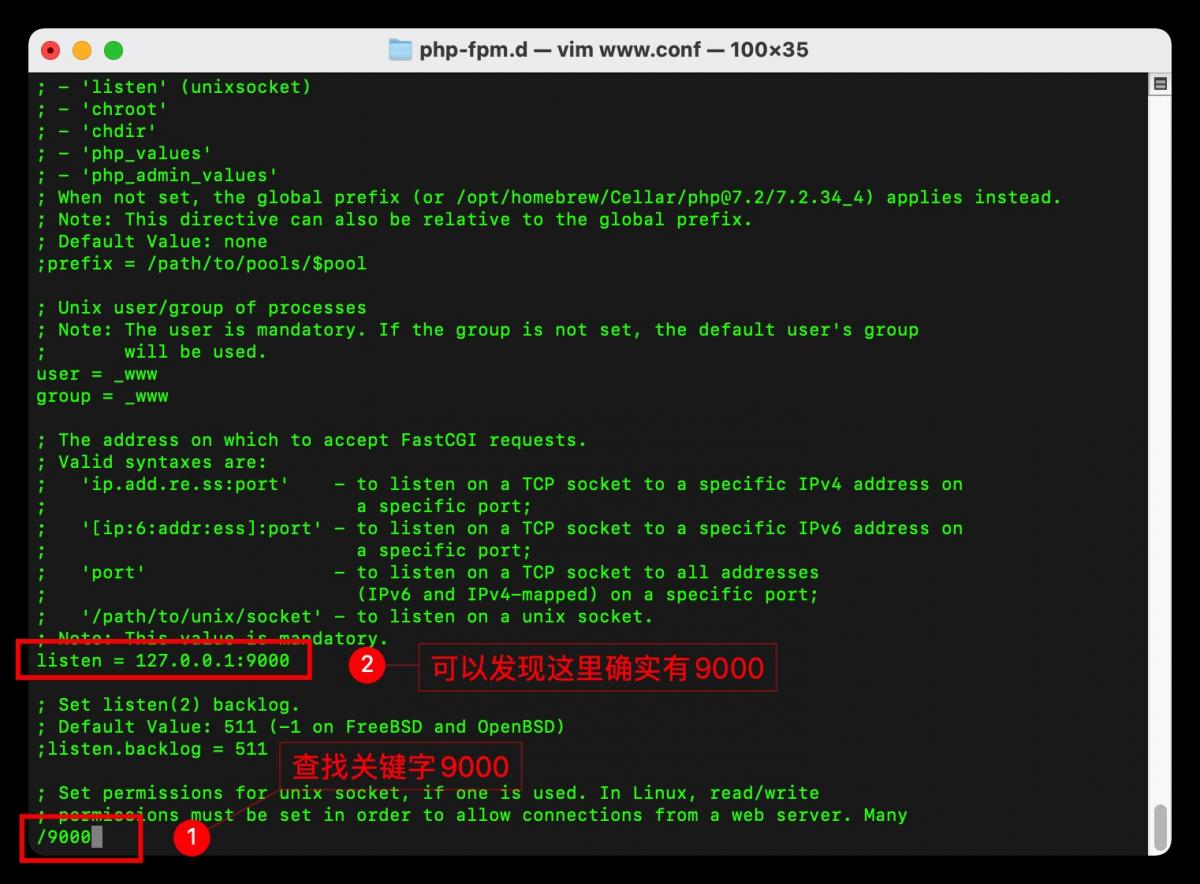
cat /opt/homebrew/etc/php/7.2/php-fpm.d/www.conf进入 vim 模式,搜索关键词 9000, 就会发现确实可以找到 listen = 127.0.0.1:9000
4. nginx的URL重写
以TP6.0举例,访问 index控制器的 hello 方法,用 /index/hello 访问提示 404
因为nginx 默认是不支持pathinfo方式访问的,如果要访问可以通过 s=/index/hello 访问
// 访问提示404
http://127.0.0.1:8081/index.php/index/hello
// 访问正常
http://127.0.0.1:8081/index.php?s=/index/hello
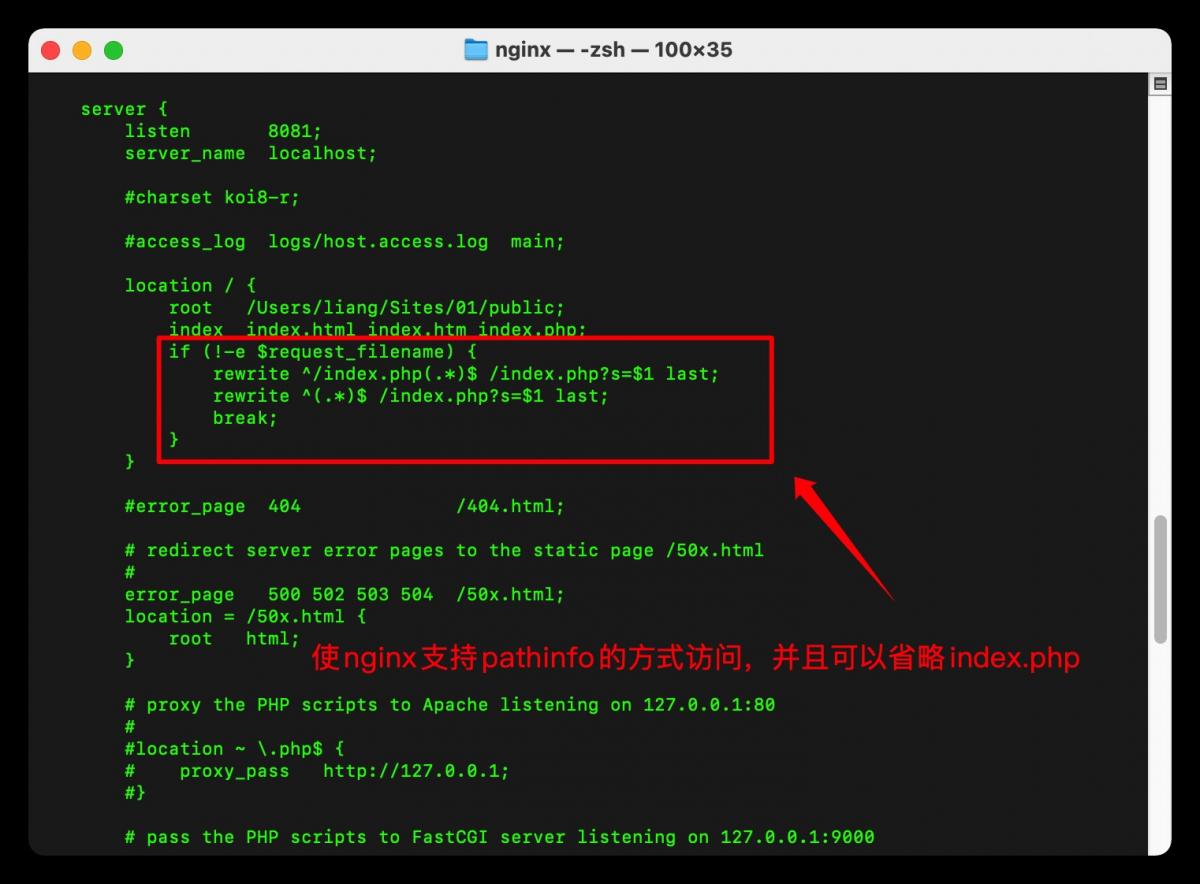
但是可以通过修改配置文件使其支持pathinfo方式访问,将以下代码放入 location / 中即可
if (!-e $request_filename) {
    rewrite ^/index.php(.*)$ /index.php?s=$1 last;
    rewrite ^(.*)$ /index.php?s=$1 last;
    break;
}rewrite ^/index.php(.*)$ /index.php?s=$1 last;
/index.php/index/hello 重写为 /index.php?s=/index/hello
rewrite ^(.*)$ /index.php?s=$1 last;
/index/hello 重写为 /index.php?s=/index/hello修改后的配置文件示例:
5. 更高效的管理nginx配置文件(虚拟主机)
nginx 要友好的支持PHP项目,只需要去关注server 配置块即可
后续 nginx 上需要绑定多个项目,这是如何做配置呢
方案一: 在 nginx.conf 可以使用多个 server 配置块管理不同的项目,此时不方便管理,因为所有项目的配置都在一个文件中
方案二: 将方案一中的 server块 抽离出来,放到相应的目录下面,而 nginx 也提供了这样一种能力
在 nginx.conf 配置文件的最下面有这样一个配置,就是定义这个目录的路径
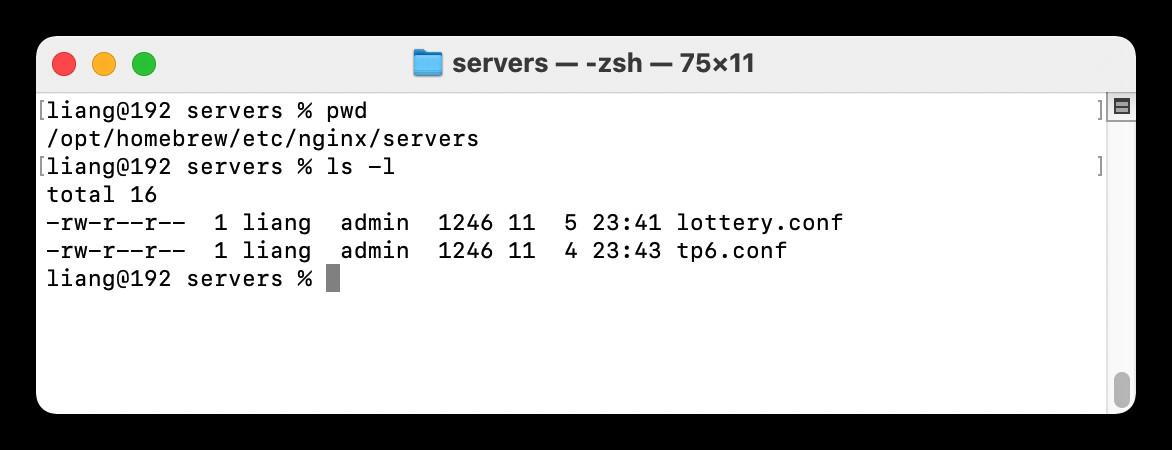
include servers/*;将项目的 server 配置块抽离出来, 放到 servers 目录下,一个项目占用一个配置文件
6. 配置web访问以及查看目录文件
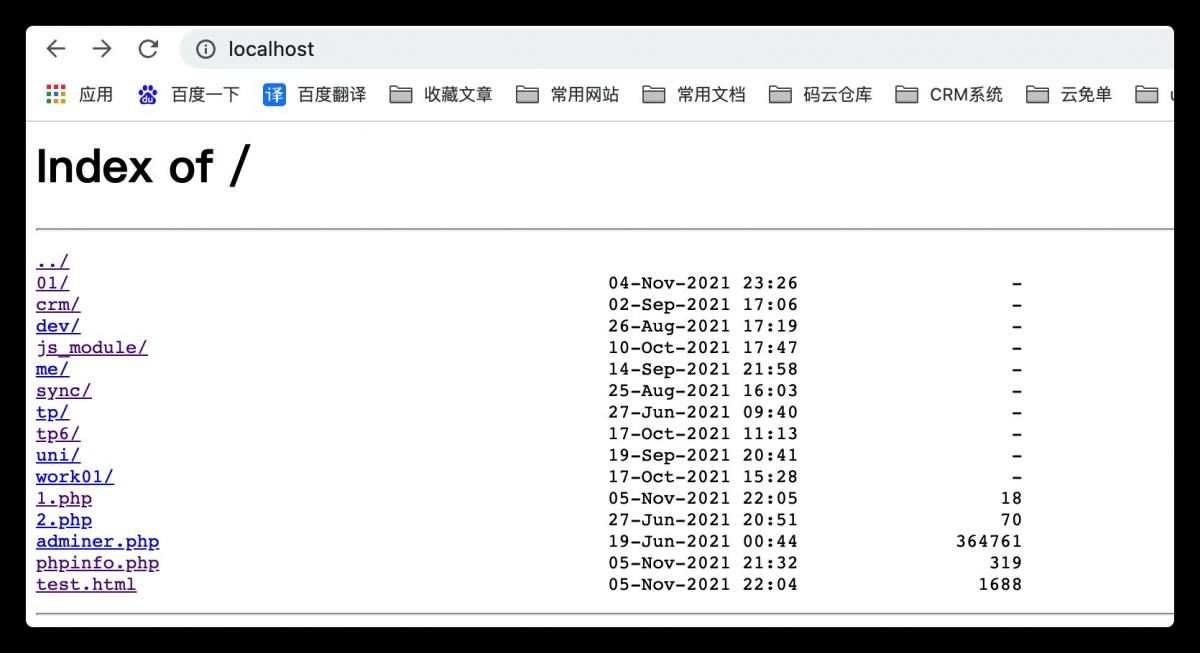
nginx 默认不支持像 ftp 那样显示文件列表,即使 localhost 指向的目录下面有文件和目录,访问时也会提示 403 Forbidden
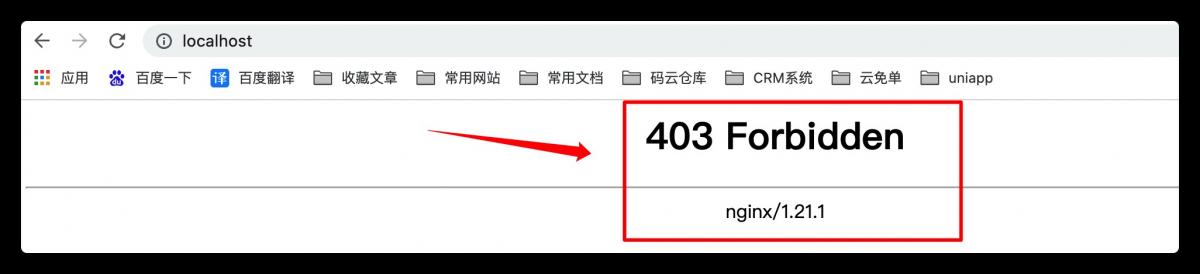
可以通过给 location / 配置段添加额外参数使其支持显示目录文件,将以下代码放入 location / 中即可
autoindex on; # 开启目录文件列表
autoindex_localtime on; # 显示的文件时间为文件的服务器时间
autoindex_exact_size on; # 显示出文件的确切大小,单位是bytes,但我试的时候没看到效果
charset utf-8,gbk; # 避免中文乱码,使中文文件名可以正常显示
配置示例
location / {
    root   /Users/liang/Sites;
    index  index.html index.htm index.php;
    autoindex on;
    autoindex_localtime on;
    autoindex_exact_size on;
    charset utf-8,gbk;
}
配置成功
本文参与 腾讯云自媒体同步曝光计划,分享自作者个人站点/博客。
如有侵权请联系 cloudcommunity@tencent.com 删除
评论
登录后参与评论
推荐阅读
目录
腾讯云开发者

Copyright © 2013 - 2026 Tencent Cloud. All Rights Reserved. 腾讯云 版权所有
深圳市腾讯计算机系统有限公司 ICP备案/许可证号:粤B2-20090059  粤公网安备44030502008569号
腾讯云计算(北京)有限责任公司 京ICP证150476号 | 京ICP备11018762号