LanLens容器化部署指南 | Docker快速搭建网络资产监控系统
原创
LanLens容器化部署指南 | Docker快速搭建网络资产监控系统
原创
江湖有缘
发布于 2026-09-26 23:53:05
发布于 2026-09-26 23:53:05
一、LanLens介绍
1.1 LanLens工具简介
LanLens 是一款开源的、自托管的局域网监控与设备管理仪表盘。它通过 ARP 扫描自动发现网络中的设备,并提供一个清晰的 Web 界面,让您能够对设备进行文档化记录、分类管理以及一键连接,是 NAS 用户、Homelab 玩家和小型办公室整理网络资产的得力工具。
1.2 LanLens主要特点
- 自动发现:通过 ARP 扫描自动识别局域网内的所有设备及其 MAC/IP 地址。
- 智能分类:支持自定义设备类别、离线 MAC 厂商查询以及 DHCP 标识检测,让设备一目了然。
- 网段管理:支持按颜色、IP 范围和用量对网段进行可视化划分与管理。
- 资产台账:为每台设备提供详细的文档字段、IP 历史记录,并支持手动重检离线状态。
- 服务清单:可记录每台设备运行的服务,并提供独立服务目录页,支持拖拽分组和自定义图标。
- 一键连接:内置 SSH、RDP、HTTP、HTTPS 等一键连接操作,快速访问设备。
- 深度扫描:支持通过 nmap 进行端口扫描,以及通过 SSH(Linux)和 WinRM(Windows)进行硬件、操作系统、服务和容器等深度扫描。
- 凭证保险库:采用 Fernet 加密技术(密钥源自 SECRET_KEY)安全存储 SSH 和 WinRM 的访问凭据。
- 虚拟机感知:能自动检测 Proxmox、KVM 和 Hyper-V 宿主机,并枚举其虚拟机,将 VM 映射到已知设备。
- 定时扫描:支持为每台设备设置自动深度扫描计划,实现持续监控。
- 即时通知:支持通过 Telegram 发送新设备发现和设备更新的通知。
- 多语言适配:提供英语、德语和意大利语界面,并拥有适配桌面和移动端的响应式仪表盘。
二、本次实践规划
2.1 本地环境规划
本次实践为个人测试环境,操作系统版本为 Ubuntu 24.04.2 LTS。
hostname | IP地址 | 操作系统版本 | Docker版本 | 部署项目 | 备注 |
|---|---|---|---|---|---|
jeven | 192.168.3.88 | Ubuntu 24.04.2 LTS | 28.5.0 | LanLens | —— |
2.2 本次实践介绍
1.本次实践部署环境为个人测试环境,生产环境请谨慎;
2.在Docker环境下部署网络监控工具LanLens。
三、本地环境检查
3.1 检查Docker服务状态
检查Docker服务是否正常运行,确保Docker正常运行。
root@jeven:~# systemctl status docker
● docker.service - Docker Application Container Engine
     Loaded: loaded (/usr/lib/systemd/system/docker.service; enabled; preset: enabled)
     Active: active (running) since Thu 2026-02-05 00:27:40 CST; 1s ago
TriggeredBy: ● docker.socket
       Docs: https://docs.docker.com
   Main PID: 841698 (dockerd)
      Tasks: 65
     Memory: 73.5M (peak: 77.1M)
        CPU: 975ms
     CGroup: /system.slice/docker.service
3.2 检查Docker版本
检查Docker版本
root@jeven:~# docker -v
Docker version 28.5.0, build 887030f
3.3 检查docker compose 版本
检查Docker compose版本,确保2.0以上版本。
root@jeven:~# docker compose version
Docker Compose version v2.39.4
四、拉取LanLens镜像
下载LanLens镜像,执行以下命令:
root@jeven:~# docker pull alexrosbach/lanlens:1.5.0
1.5.0: Pulling from alexrosbach/lanlens
57fb71246055: Pull complete
797809503061: Pull complete
759e0c85a86e: Pull complete
b33ff618953d: Pull complete
e1b7808202cc: Pull complete
139cd875bbee: Pull complete
9414313f16ad: Pull complete
ceb56ab7a3c0: Pull complete
337b15847b10: Pull complete
9d2ac2fde8e0: Pull complete
e4dba22d0a30: Pull complete
f29100864560: Pull complete
f142a0d21606: Pull complete
a177fd15c467: Pull complete
Digest: sha256:dd80cb40e9cb1109bf80cae9dd07b651782c9328921f8e5a6c8d43691301415d
Status: Downloaded newer image for alexrosbach/lanlens:1.5.0
docker.io/alexrosbach/lanlens:1.5.0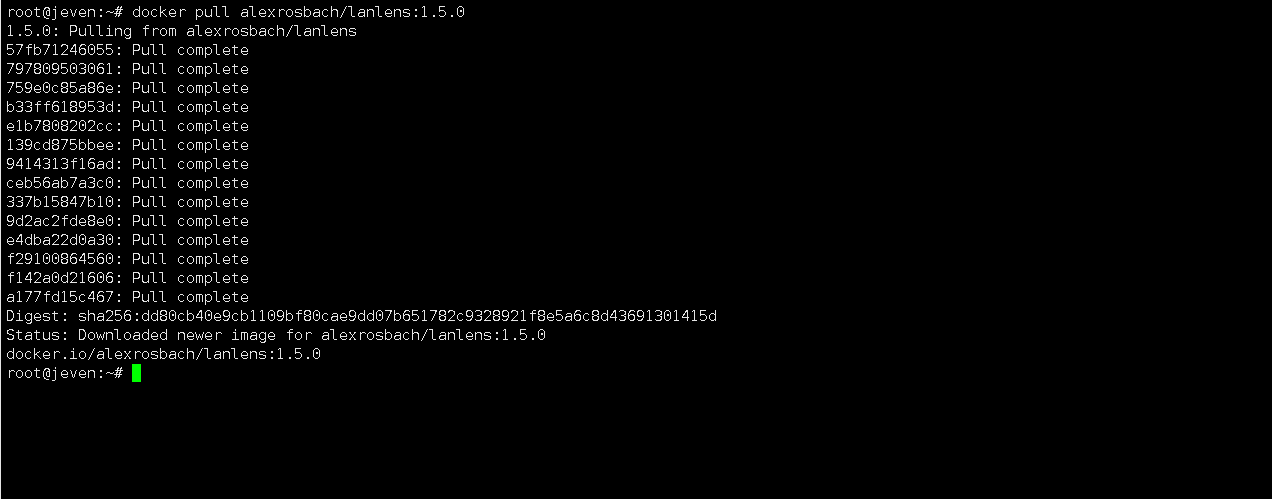
在这里插入图片描述
五、部署LanLens服务
5.1 创建部署目录
- 创建部署目录
mkdir -p /data/lanLens/data && cd /data/lanLens- 在测试环境中,为了方便操作,我们直接为挂载目录设置了完全权限。但在生产环境中,请务必根据实际安全需求,配置更精细、严格的权限控制方案。
chmod -R 777 /data/lanLens/5.2 生成随机密钥
执行以下命令,生成随机密钥,在后续步骤使用。
root@jeven:/data/lanLens# python3 -c "import secrets; print(secrets.token_hex(32))"
a9fd8c03fa59509dcae18042f5594221f50f0d508e2a85ce1900c5f7ac042e5a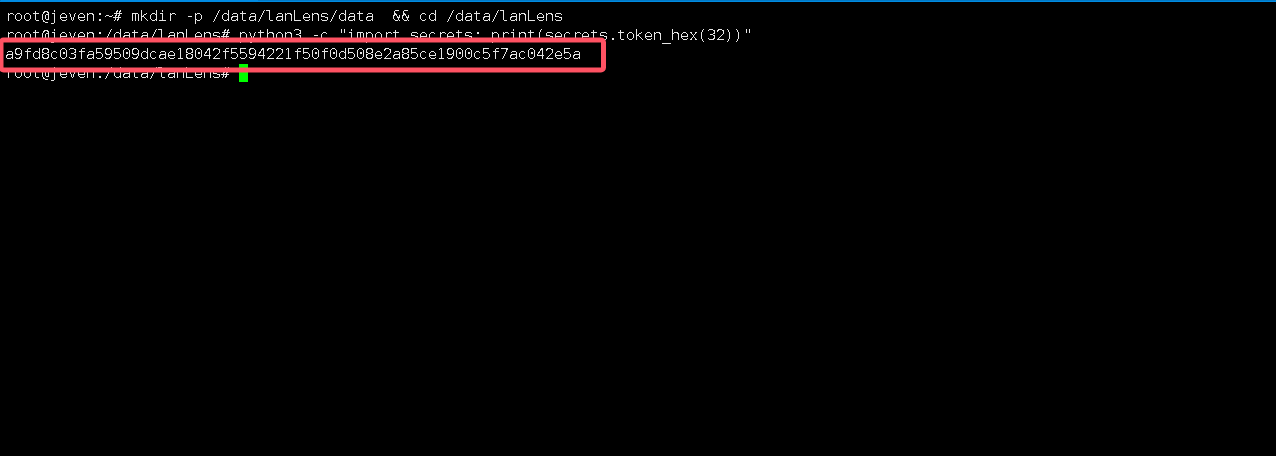
在这里插入图片描述
5.3 创建Dockhand容器
如果想要使用docker-cli方式部署,可参考以下命令部署。(可选)
docker run -d \
  --name=lanlens \
  --restart=always \
  --network=host \
  --cap-add=NET_ADMIN \
  --cap-add=NET_RAW \
  -v /data/lanLens/data:/data \
  -e SECRET_KEY=a9fd8c03fa59509dcae18042f5594221f50f0d508e2a85ce1900c5f7ac042e5a \
  -e DEFAULT_ADMIN_PASSWORD=admin \
  -e LANLENS_PORT=7765 \
  -e BACKEND_PORT=17765 \
  -e TZ=Asia/Shanghai \
  alexrosbach/lanlens:1.5.0
本次实践我们采用 Docker Compose 方式进行部署,这也是我推荐的方式。首先我们需要创建并编辑
docker-compose.yaml文件,请注意宿主机映射端口可根据您的实际情况自行设置,务必避免端口冲突。
vim docker-compose.yamlservices:
lanlens:
image: alexrosbach/lanlens:1.5.0
# To build locally instead of pulling from Docker Hub, uncomment:
# build: .
container_name: lanlens
restart: always
# Required for ARP scanning: container must share the host network stack
# so scapy can send raw Ethernet frames via the host's physical NIC.
# Remove this and uncomment 'ports' below to use bridge networking —
# but note that ARP scanning will not work in bridge mode.
network_mode: host
cap_add:
- NET_ADMIN # network interface configuration
- NET_RAW # raw socket access for ARP broadcast
volumes:
- /data/lanLens/data:/data # SQLite database + persistent state
environment:
# ── REQUIRED ──────────────────────────────────────────────────────────────
# Replace with a strong random key (min 32 chars). App refuses to start otherwise.
# Generate: python3 -c "import secrets; print(secrets.token_hex(32))"
- SECRET_KEY=a9fd8c03fa59509dcae18042f5594221f50f0d508e2a85ce1900c5f7ac042e5a
# ── OPTIONAL ──────────────────────────────────────────────────────────────
# Initial admin password (will be changed on first login)
- DEFAULT_ADMIN_PASSWORD=admin
# Host-mode HTTP port for the LanLens UI (for example 80, 8080, 7765)
- LANLENS_PORT=7765
# Internal API port used behind nginx (leave as-is unless you know why)
- BACKEND_PORT=17765
# Timezone (e.g. Europe/Berlin, America/New_York, UTC)
- TZ=Asia/Shanghai
# Host mode still allows a custom HTTP port.
# Example: set LANLENS_PORT=80 above if you want LanLens on port 80.
# ── Bridge networking alternative (ARP scanning disabled) ─────────────────
# Comment out network_mode and cap_add above, then uncomment:
# ports:
# - "8080:8080"
# and set LANLENS_PORT=8080 above so nginx listens on the same port.
healthcheck:
test: ["CMD-SHELL", "curl -fs http://localhost:$${LANLENS_PORT:-7765}/api/health"]
interval: 30s
timeout: 10s
retries: 3
start_period: 20s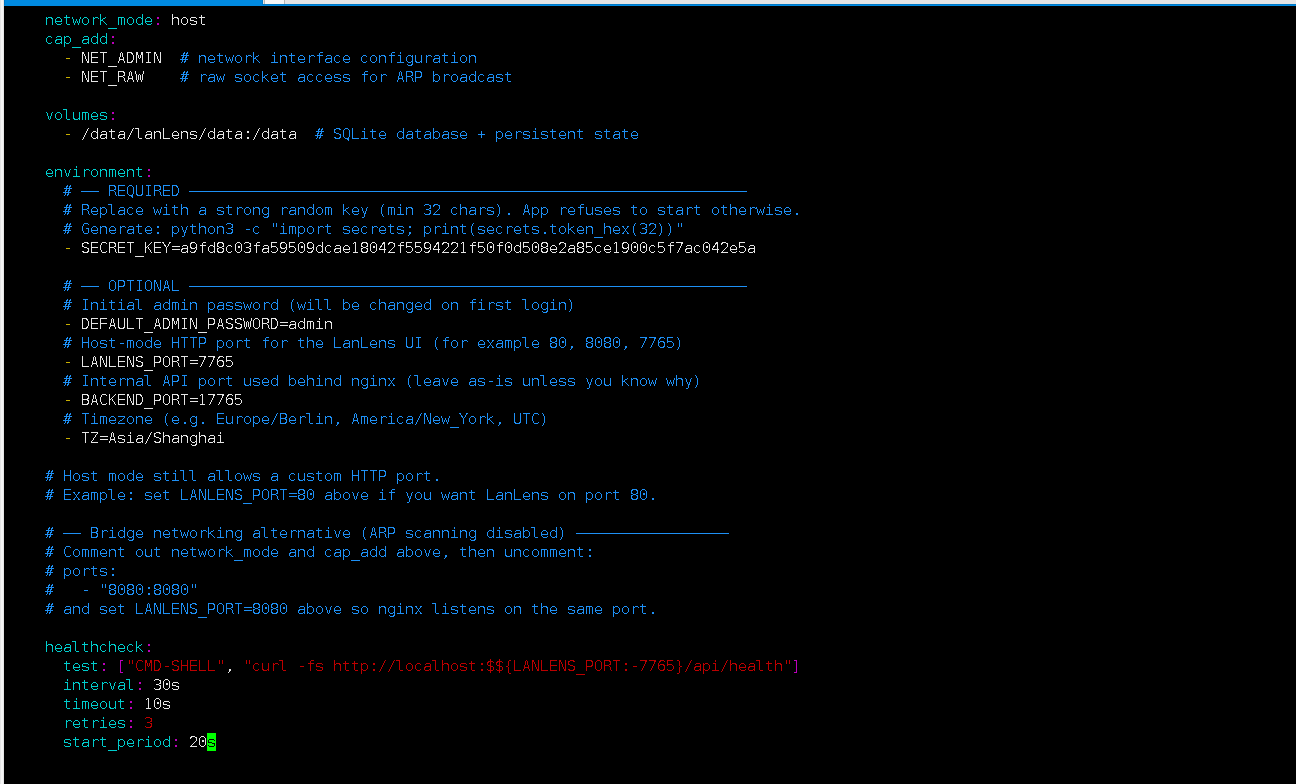
在这里插入图片描述
- 相关配置项介绍:
配置项 | 默认值 | 解释 |
|---|---|---|
| 无(必需) | 至少32位的随机字符串,用于加密凭据存储。 |
|
| 初始管理员密码,首次登录后请务必修改。 |
|
| LanLens Web UI 的 HTTP 服务端口。 |
|
| 内部 FastAPI 后端端口,通常无需修改。 |
|
| SQLite 数据库文件的存储路径。 |
|
| 设置容器运行时的时区。 |
5.4 创建LanLens容器
执行以下命令,创建LanLens容器。
docker compose up -d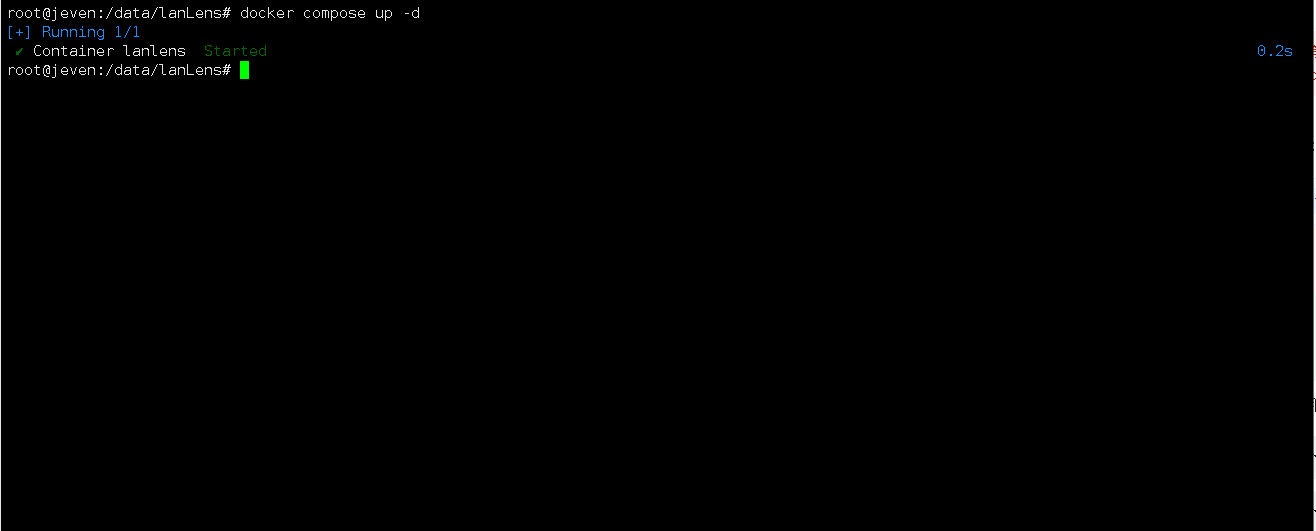
在这里插入图片描述
5.5 查看LanLens容器状态
检查LanLens容器运行状态,确保LanLens容器正常启动。
root@jeven:/data/lanLens# docker compose ps
NAME      IMAGE                       COMMAND            SERVICE   CREATED          STATUS                    PORTS
lanlens   alexrosbach/lanlens:1.5.0   "/entrypoint.sh"   lanlens   30 seconds ago   Up 30 seconds (healthy)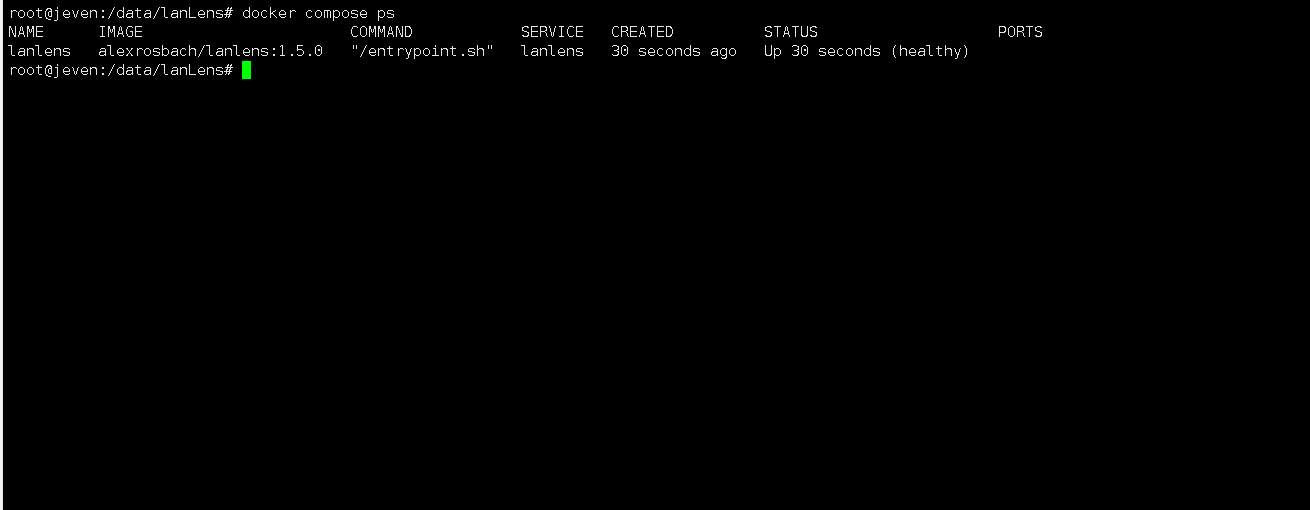
在这里插入图片描述
5.6 检查监听端口
检查LanLens服务端口,确保服务端口正常监听。
root@jeven:/data/lanLens# ss -tunlp |grep 7765
tcp   LISTEN 0      511                              0.0.0.0:7765       0.0.0.0:*    users:(("nginx",pid=1591587,fd=5),("nginx",pid=1591585,fd=5))
tcp   LISTEN 0      2048                           127.0.0.1:17765      0.0.0.0:*    users:(("uvicorn",pid=1591559,fd=12))
5.7 检查LanLens容器日志
检查容器运行日志,确保LanLens服务正常运行。
docker compose logs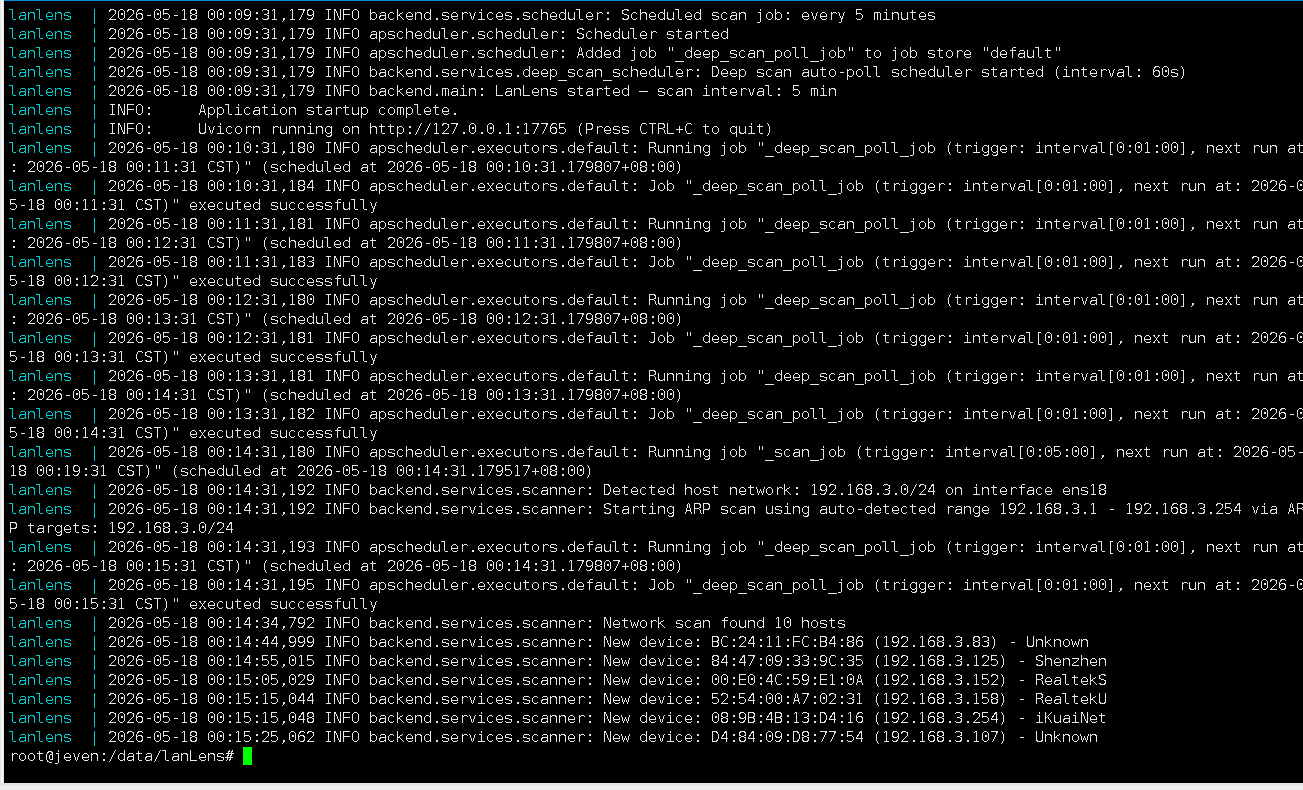
在这里插入图片描述
六、访问LanLens服务
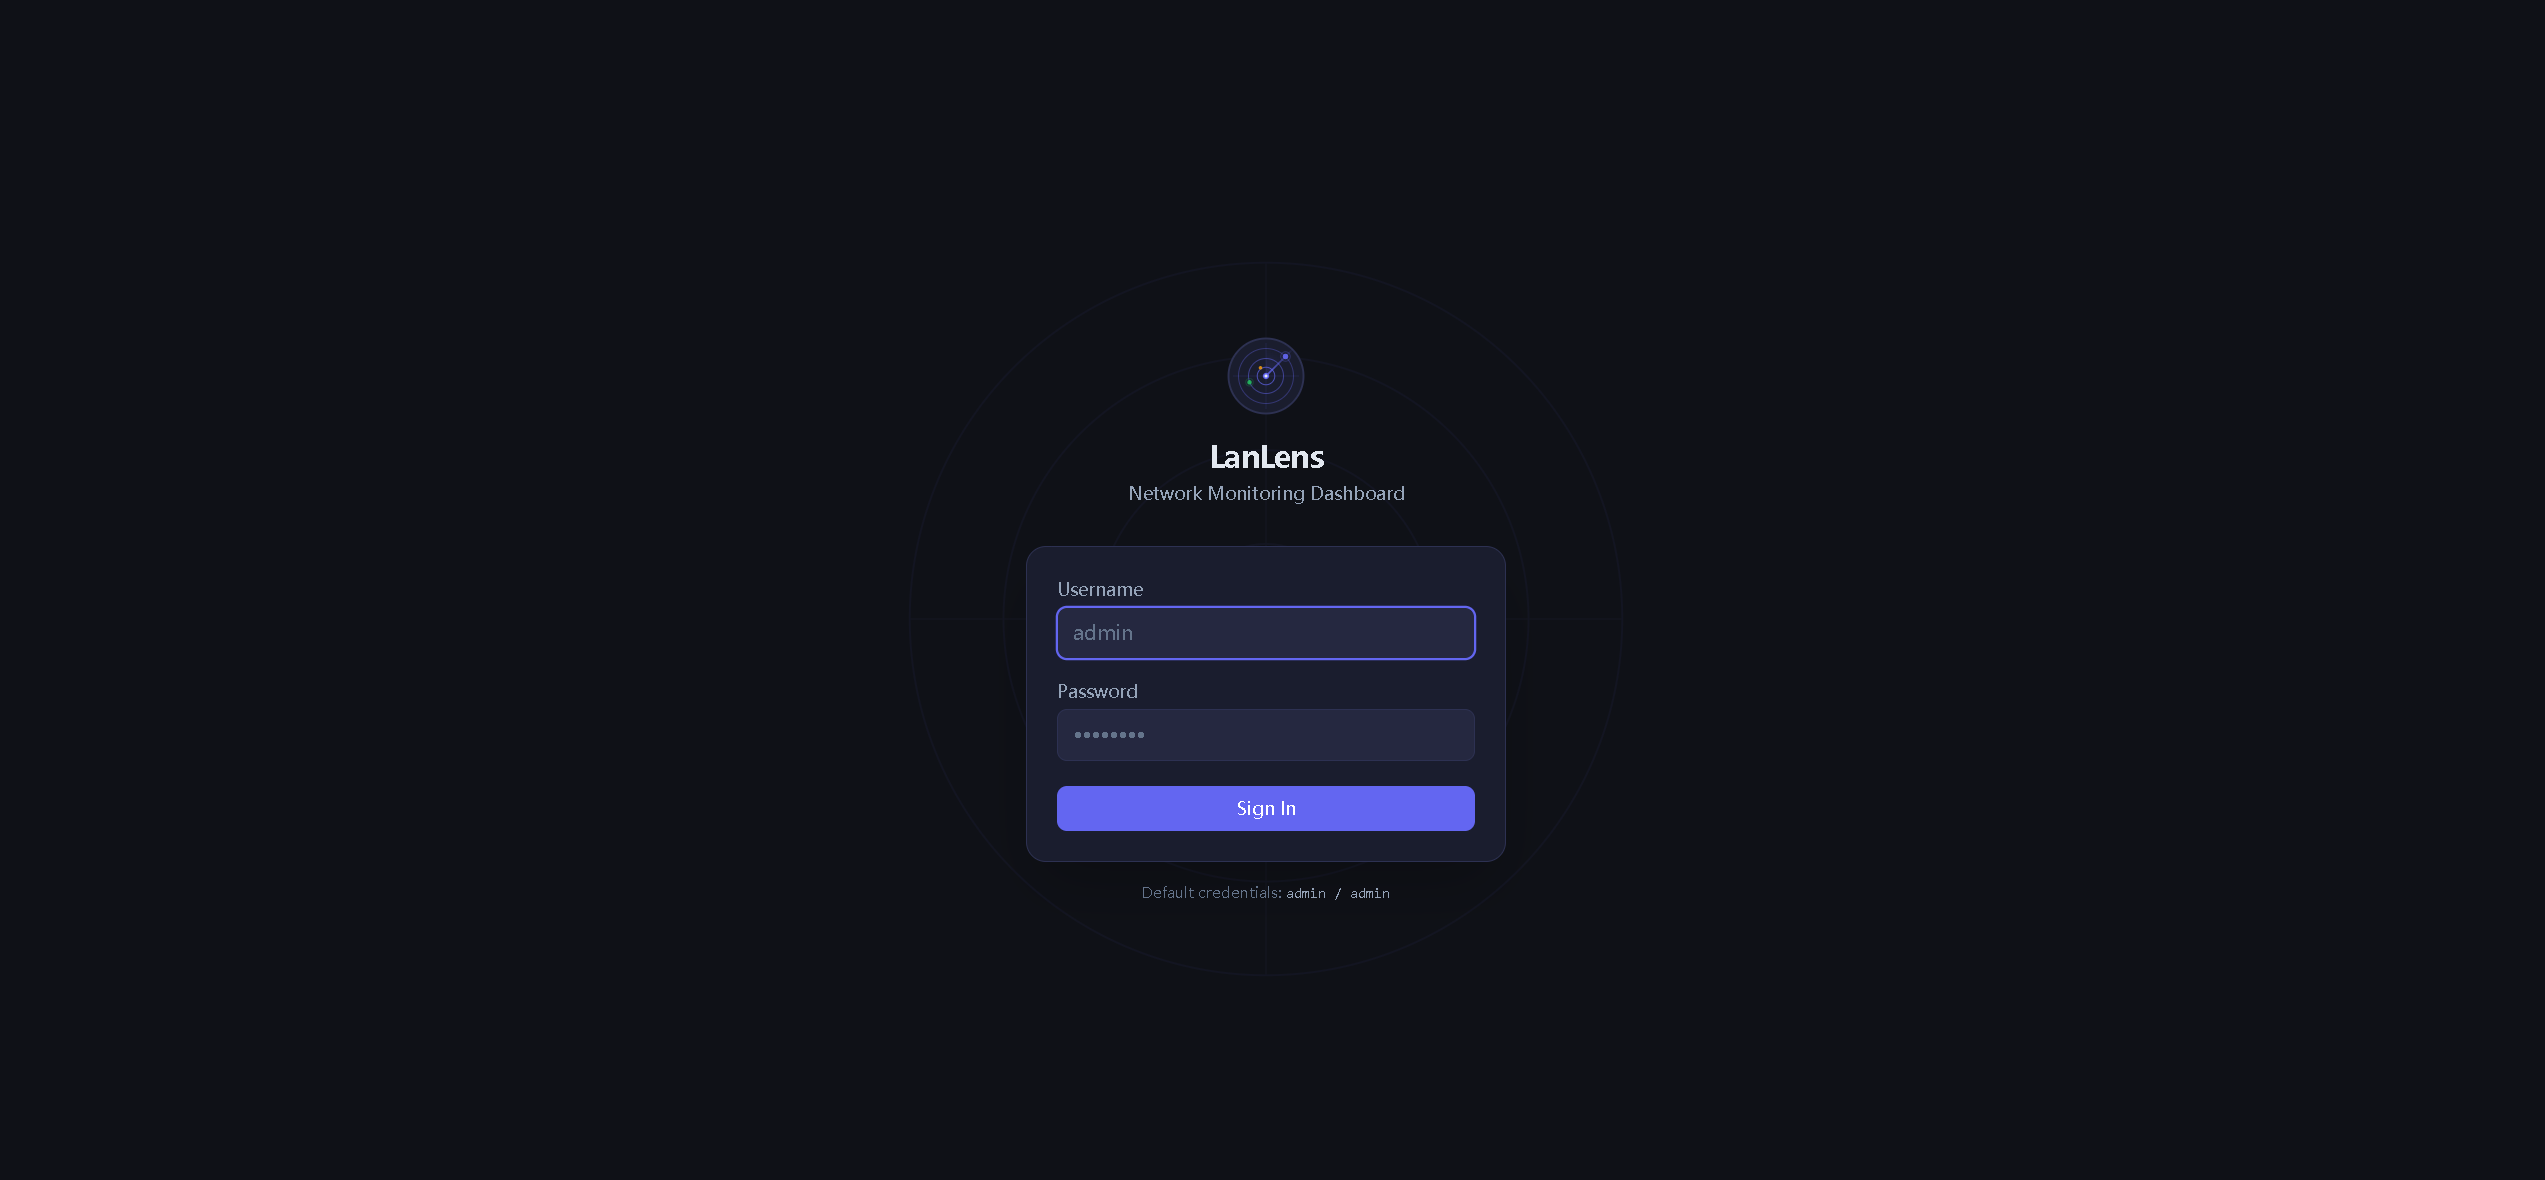
6.1 访问LanLens初始页
浏览器地址:
http://<个人的服务器IP>:7765,访问LanLens初始页。如果无法访问,请确保宿主机的防火墙已关闭或已放行相关端口,对于云服务器还需配置相应的安全组规则。
在这里插入图片描述
6.2 登录LanLens
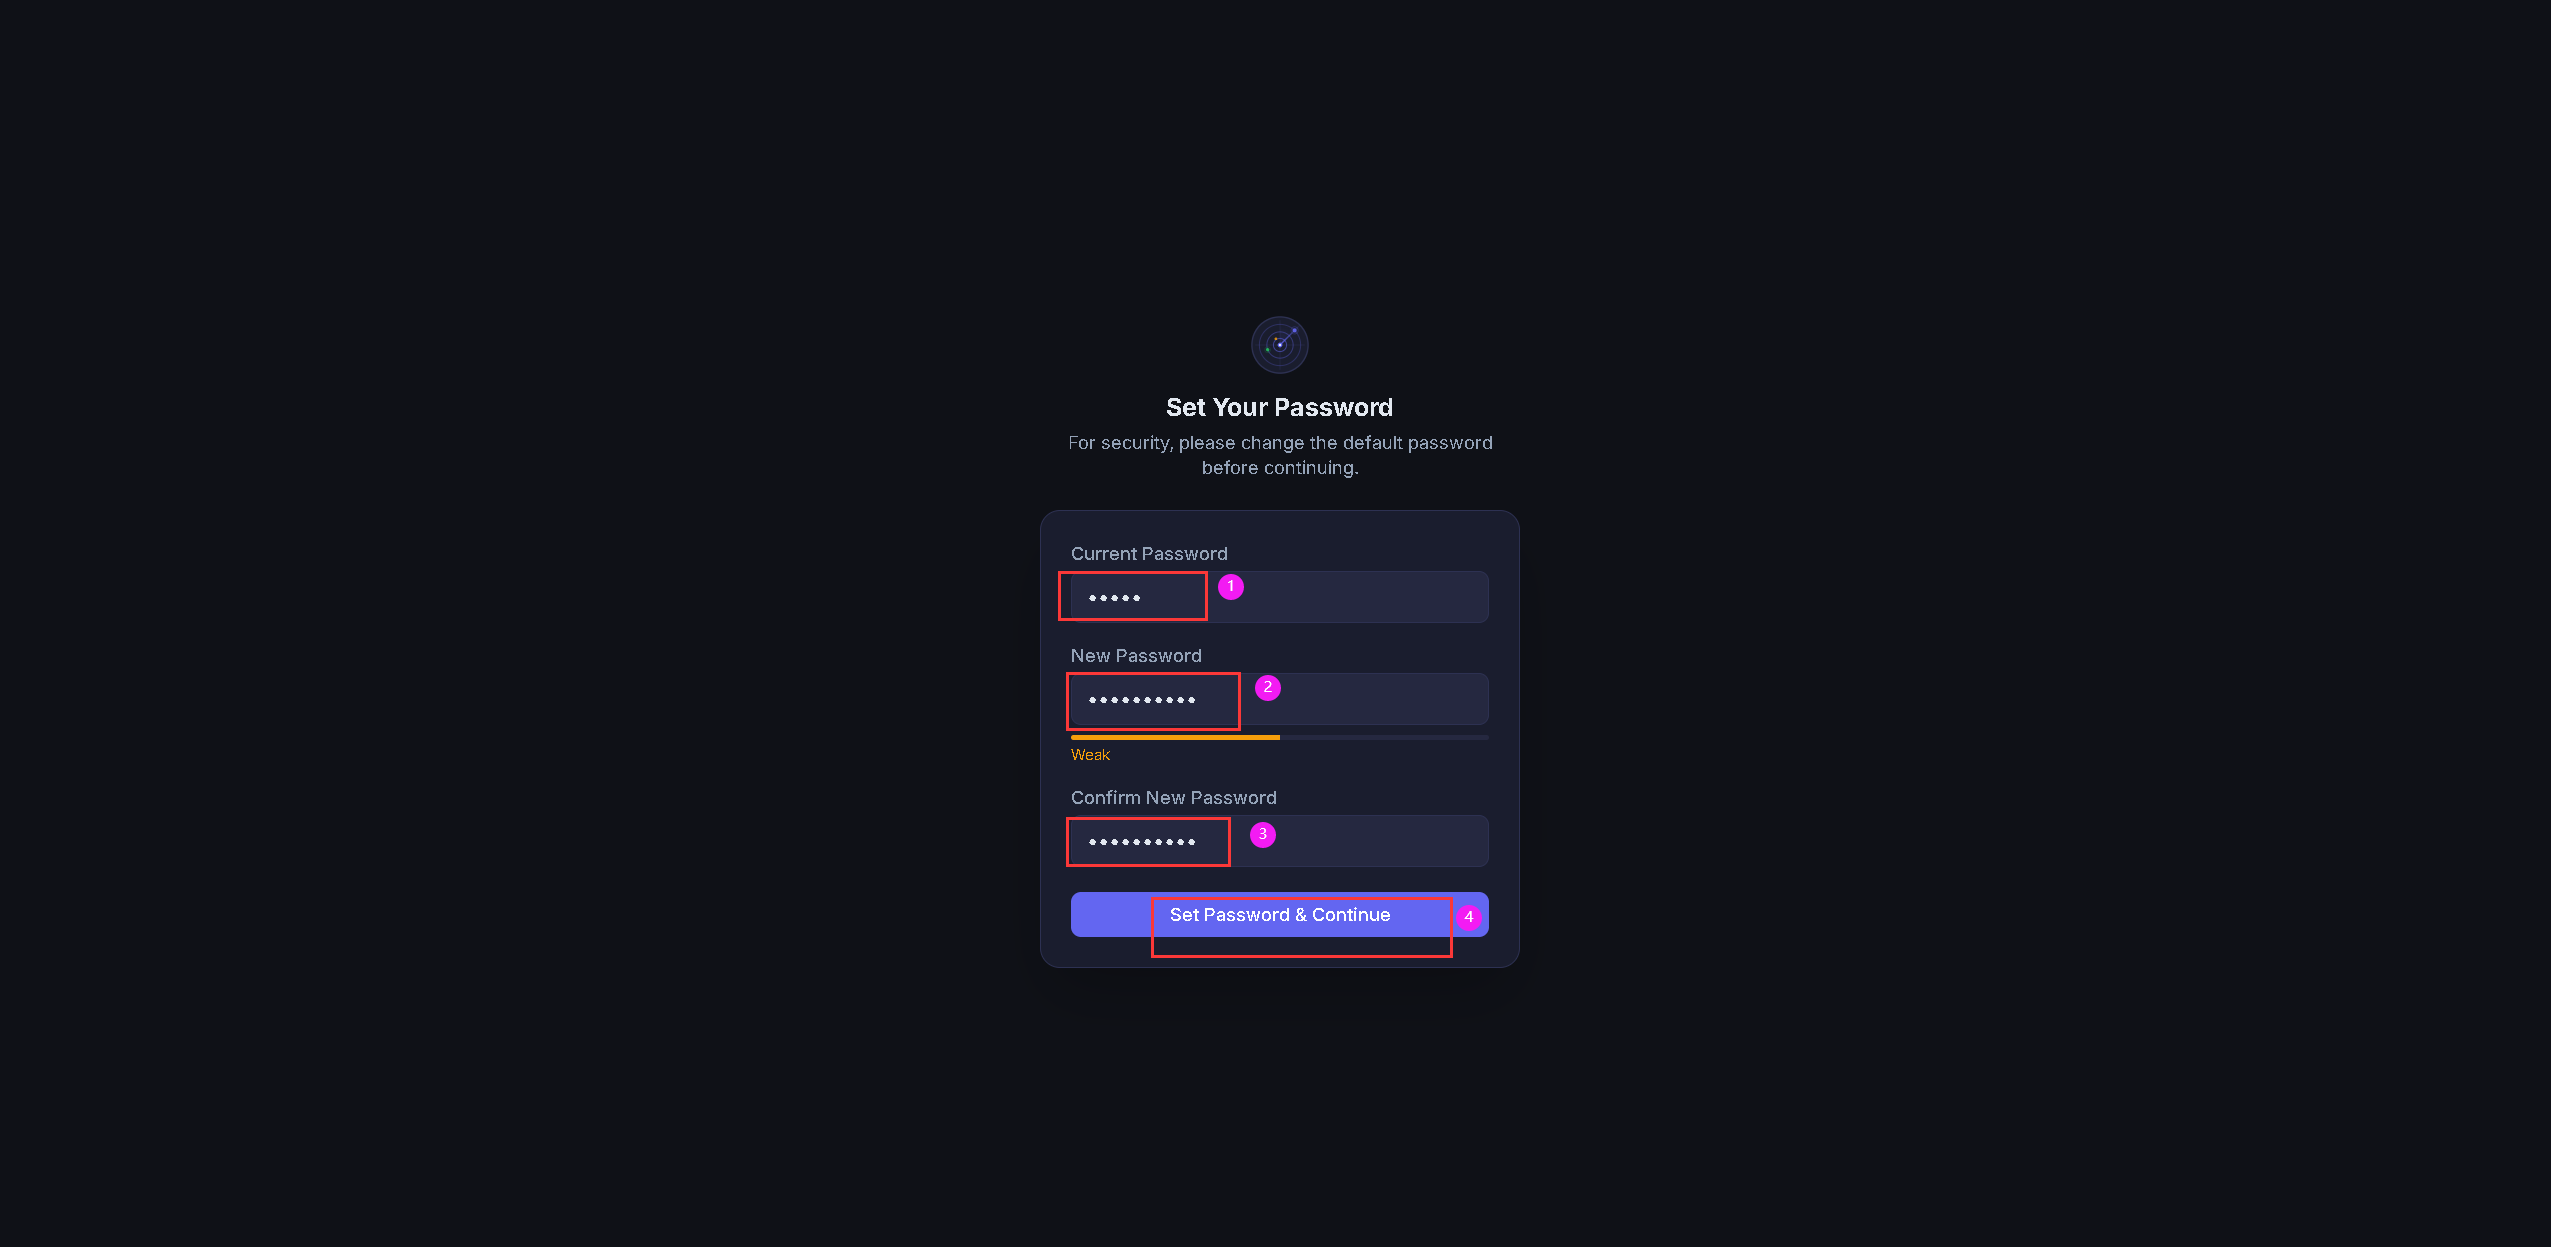
默认账号密码为admin/admin,第一次登录需要修改密码,更改密码后可进入LanLens首页。
在这里插入图片描述
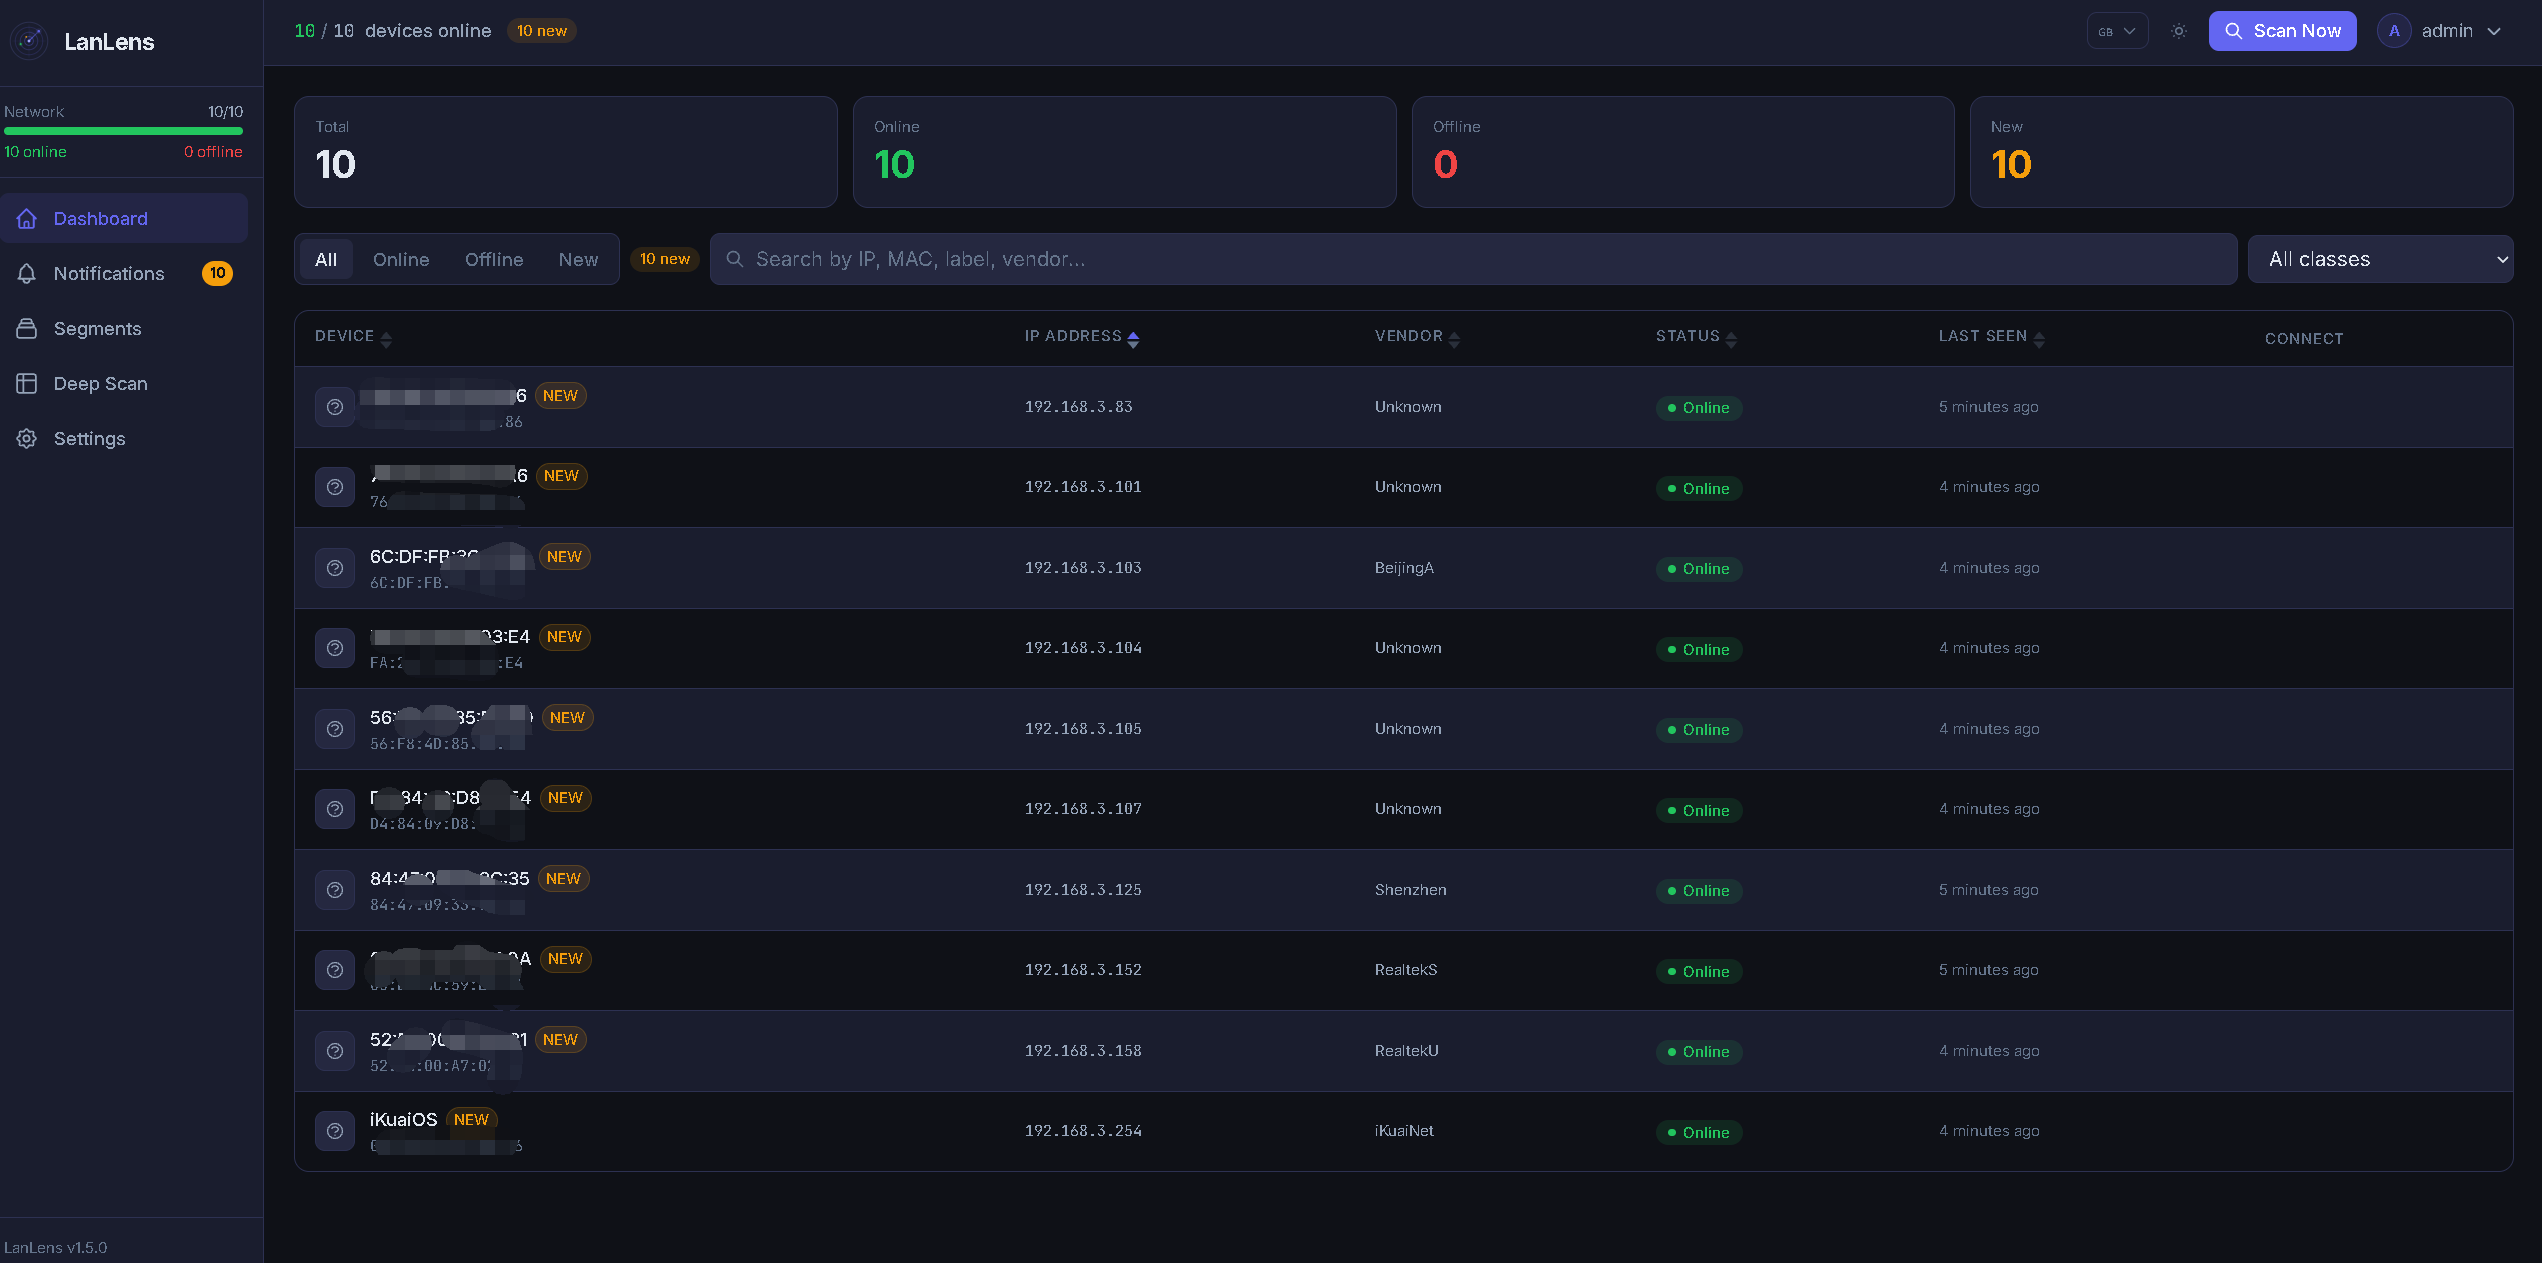
在这里插入图片描述
七、基本使用
7.1 设置中文
在系统设置中,将语言选择位简体中文,保存设置即可。
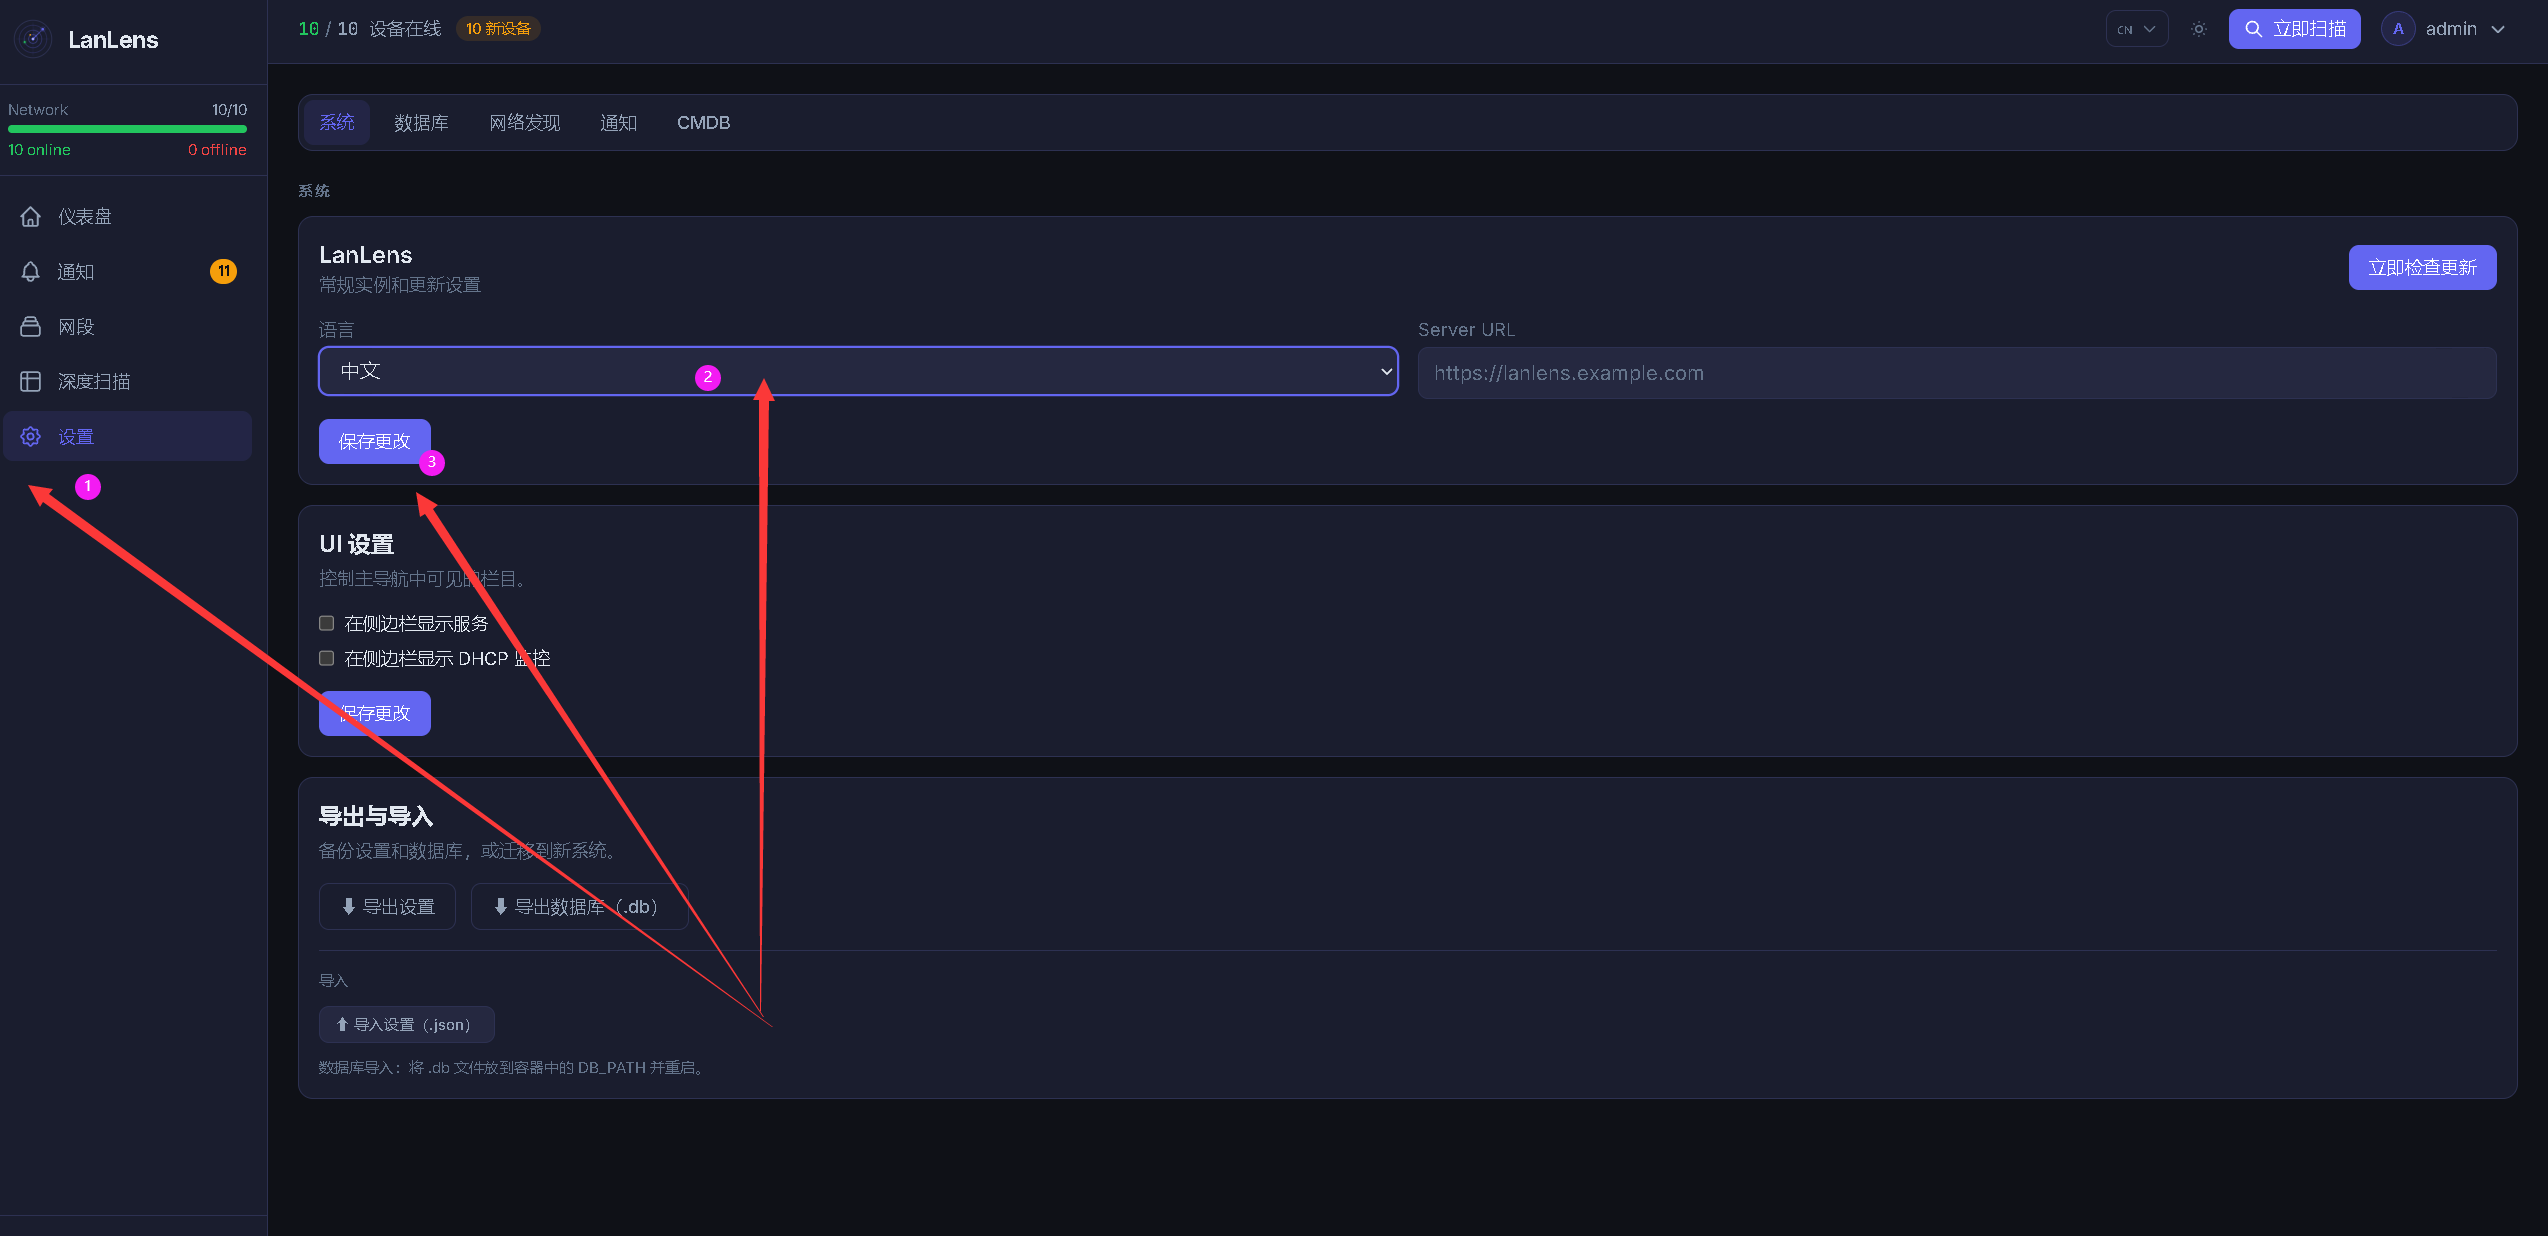
在这里插入图片描述
7.2 简单扫描
在网段模块,自行添加需要的扫描的内网网段。
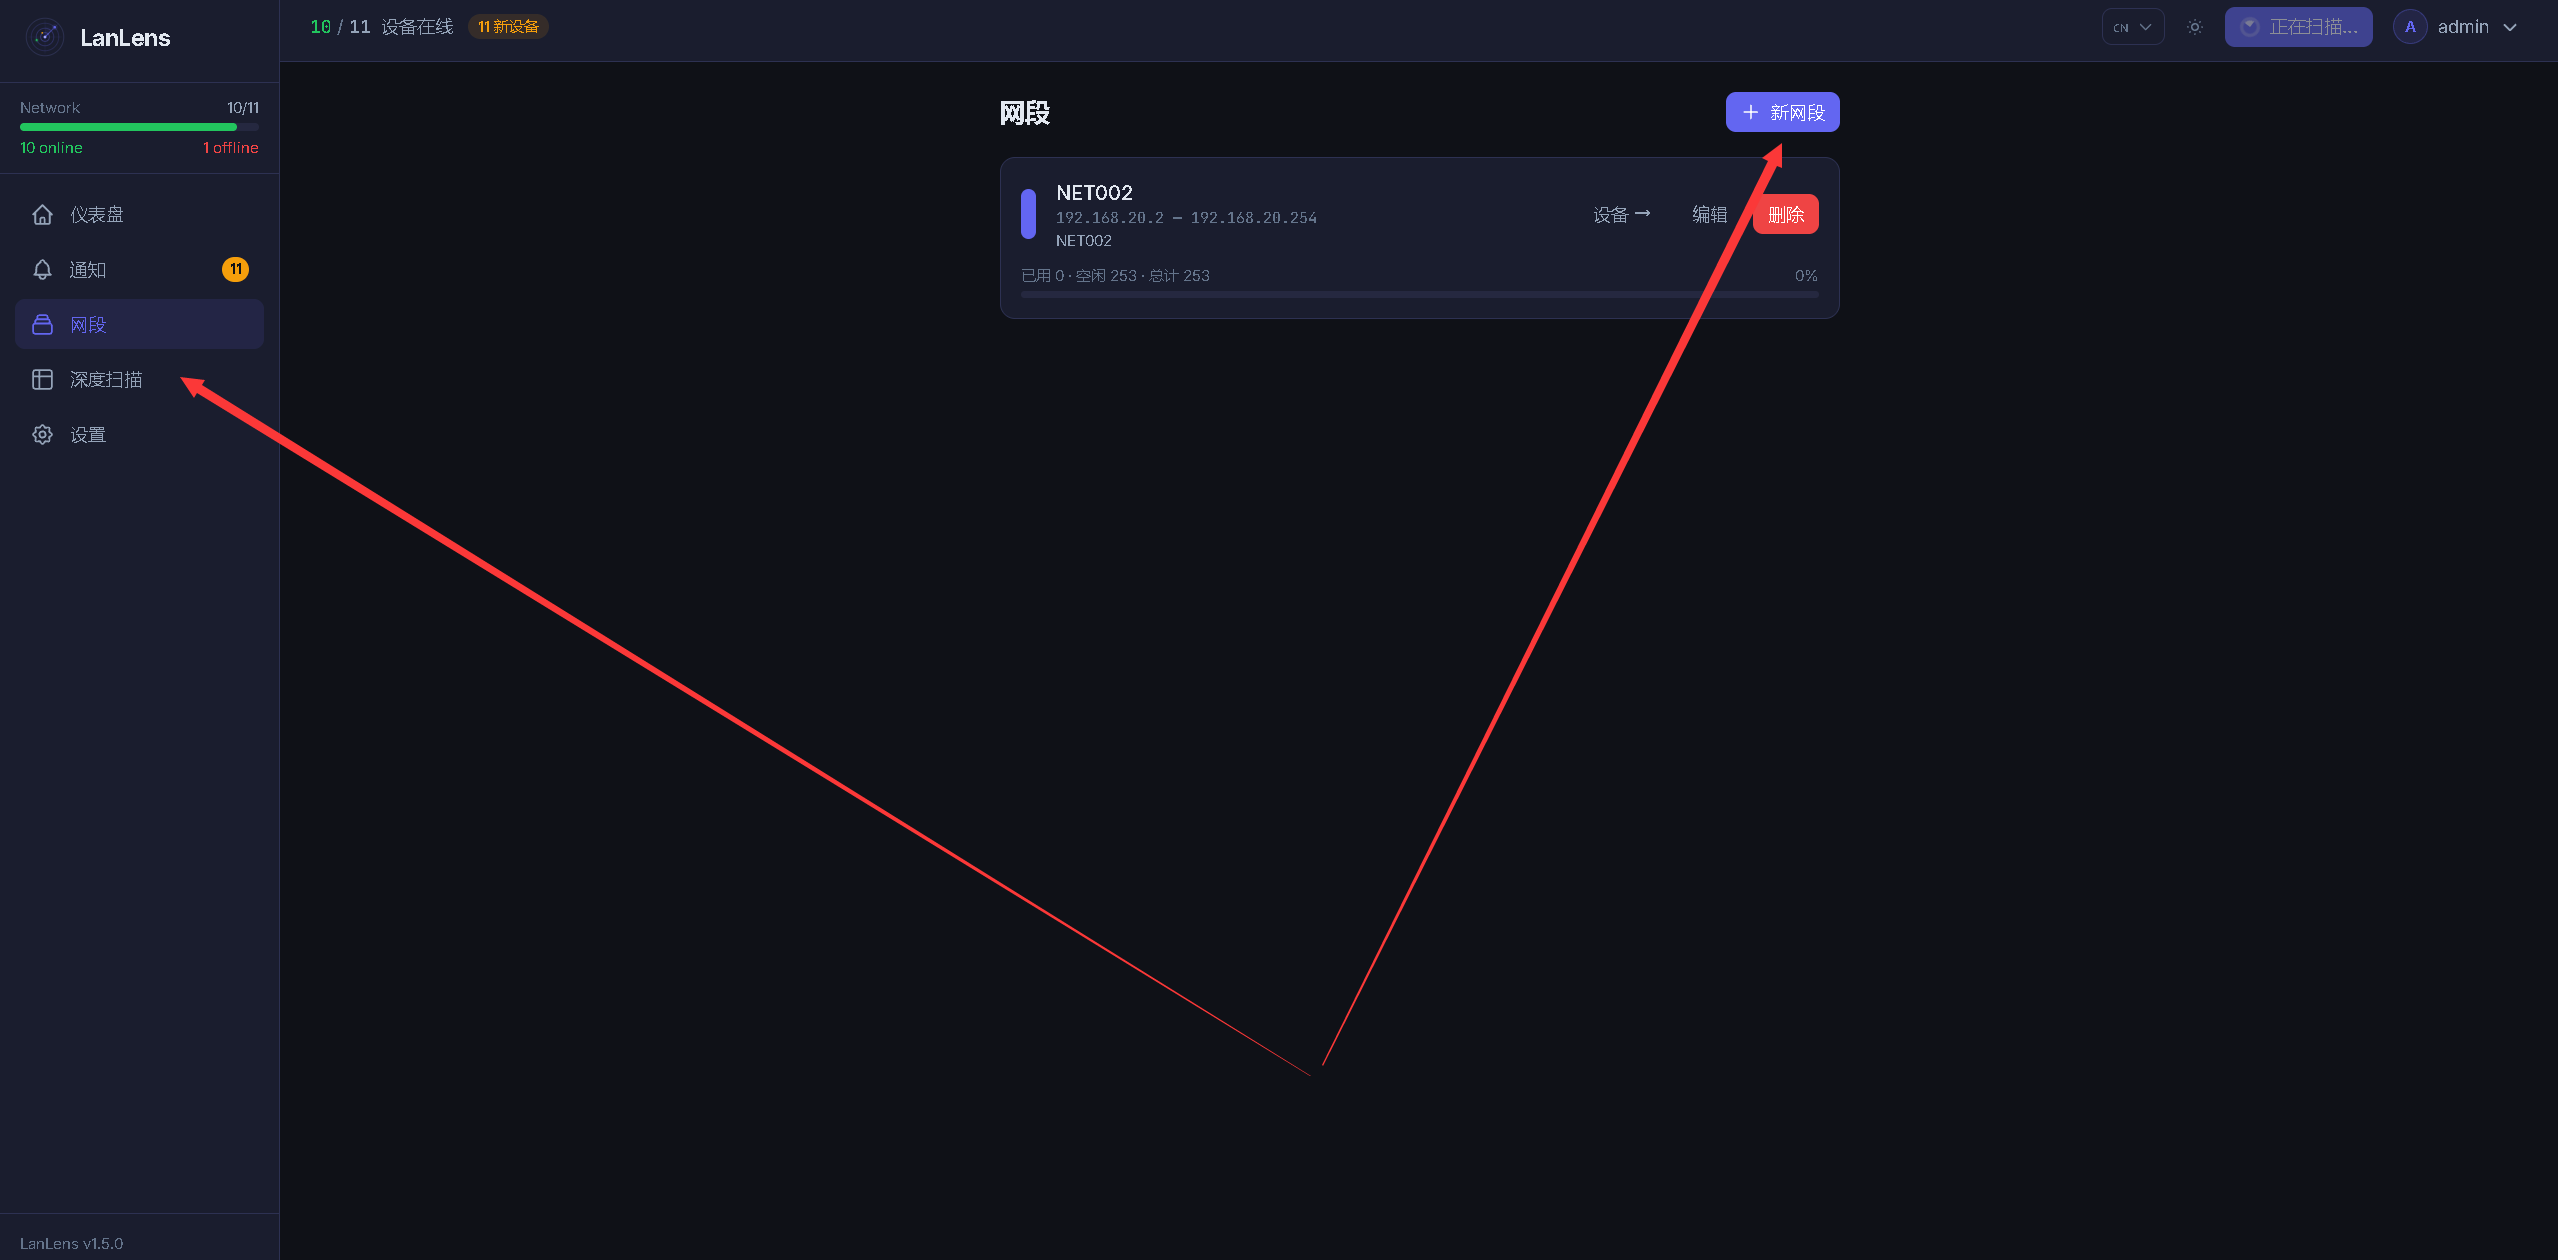
在这里插入图片描述
在仪表盘中,我们选择需要扫描的网段,点击【立即扫描】即可。
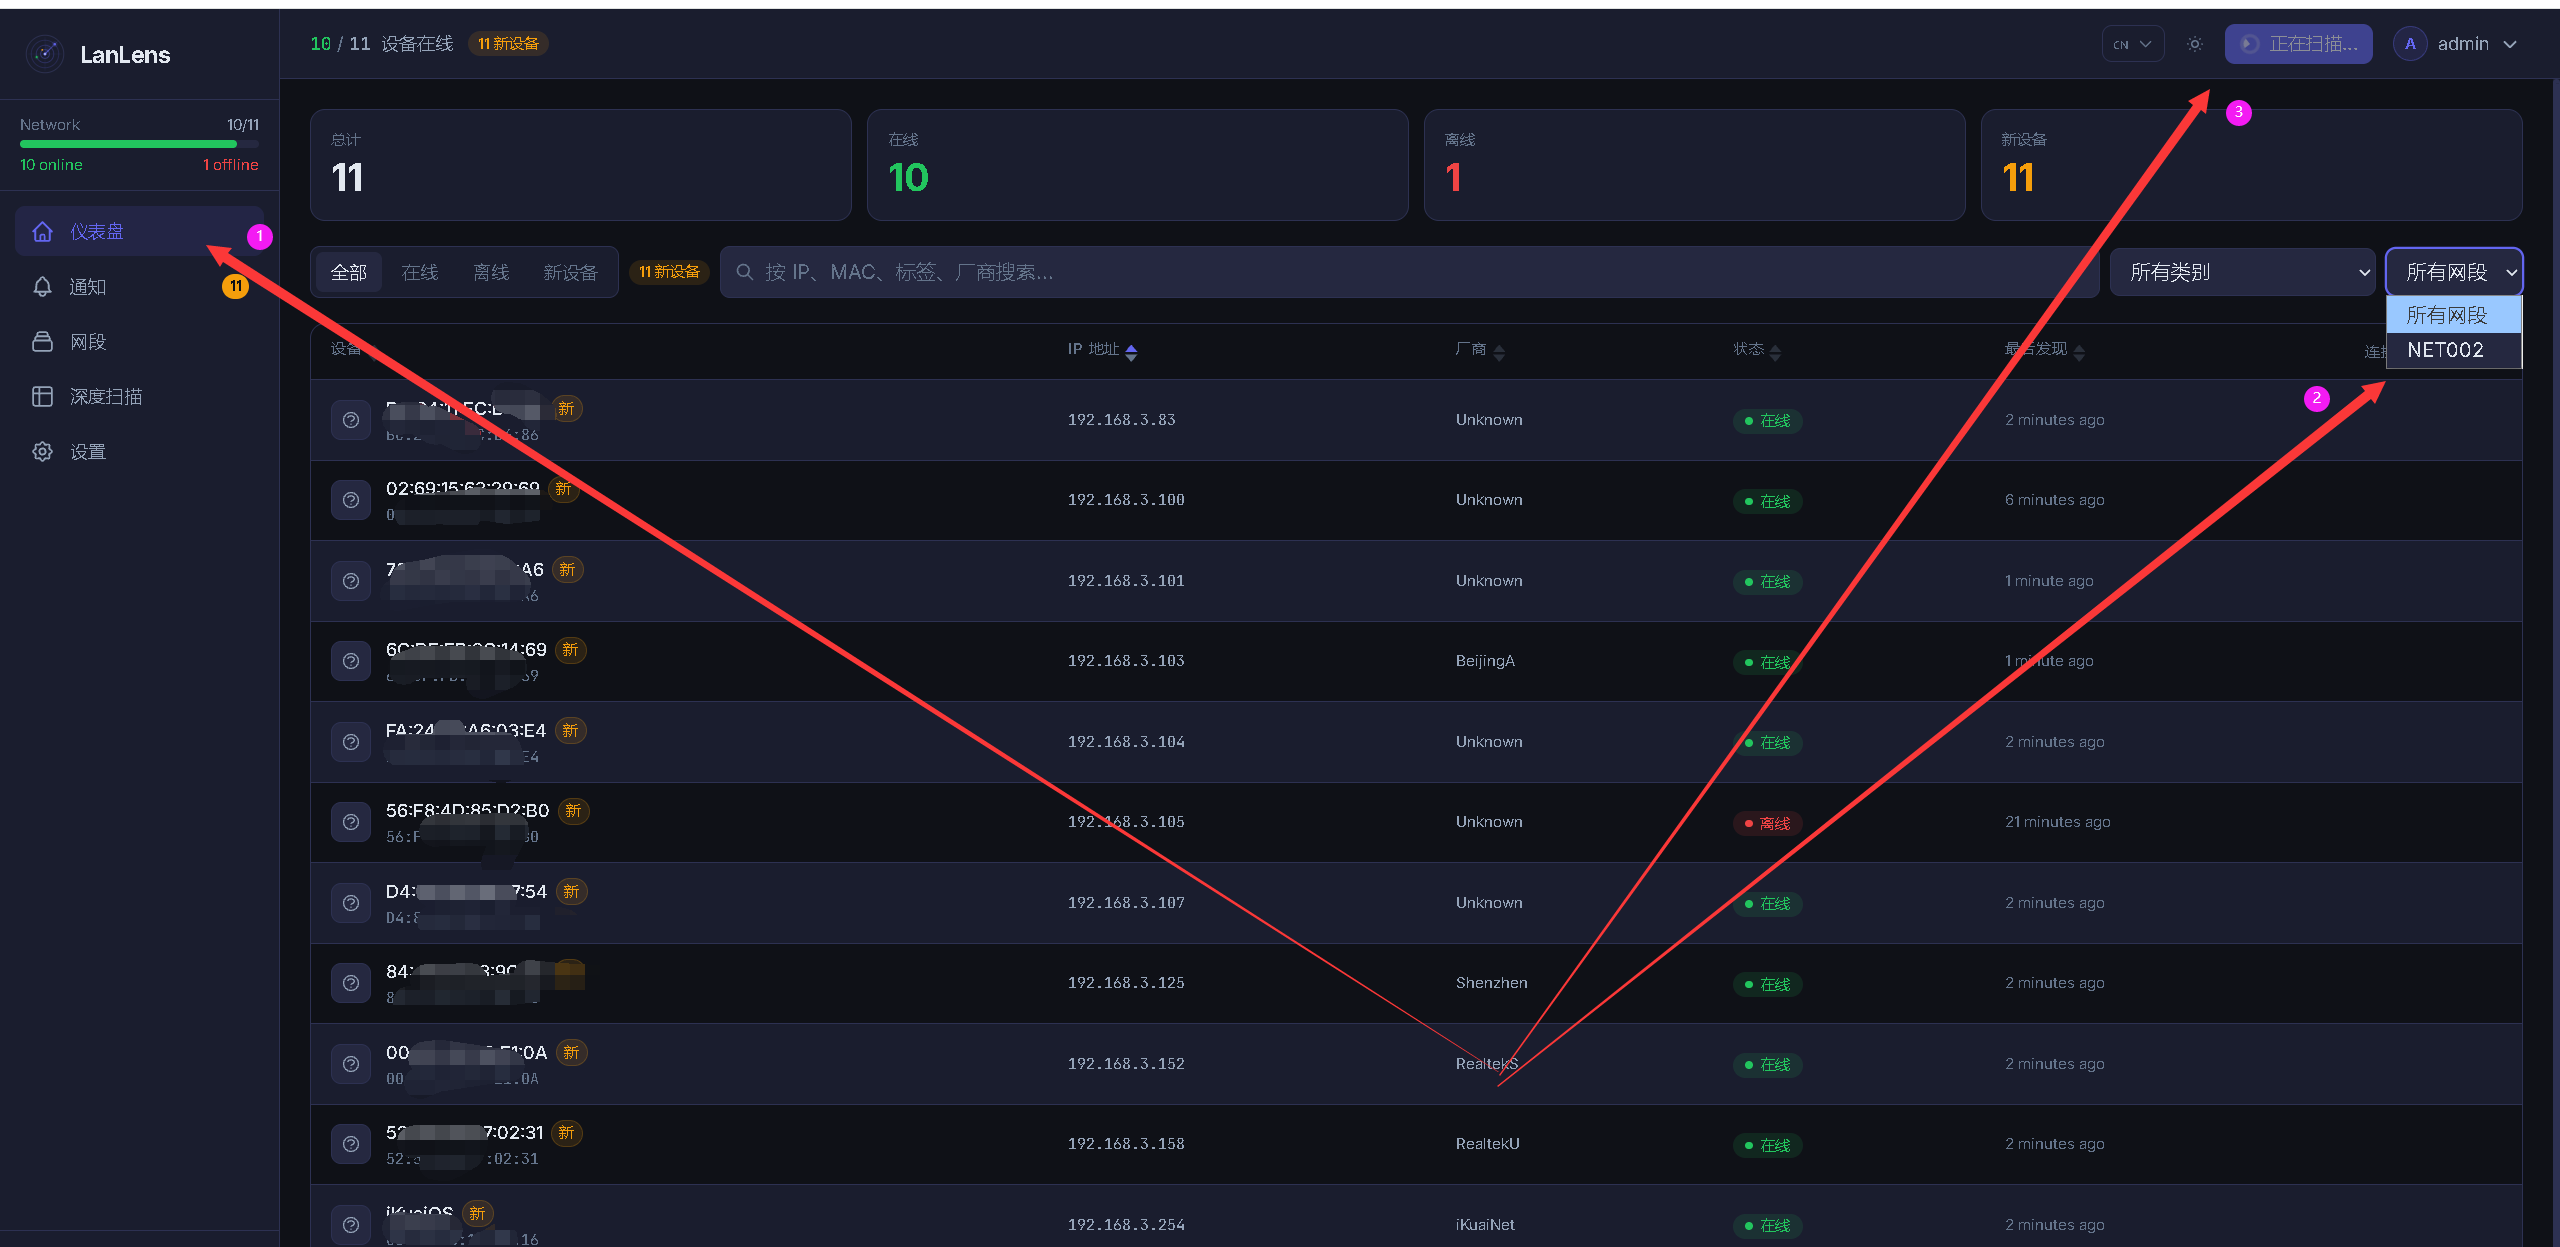
在这里插入图片描述
八、总结
本次在本地Docker环境部署LanLens的过程流畅高效,从环境检查到镜像拉取、容器创建,各环节操作清晰明确。通过配置核心的
SECRET_KEY环境变量并采用host网络模式,确保了工具对局域网设备的ARP扫描能力。部署完成后,通过Web界面登录并执行简单扫描,直观呈现了设备列表及基础信息,功能展示清晰易用。LanLens以轻量化的部署方式和实用的功能,为快速整理与监控局域网设备提供了便捷途径,适合个人及小型场景使用。
原创声明:本文系作者授权腾讯云开发者社区发表,未经许可,不得转载。
如有侵权,请联系 cloudcommunity@tencent.com 删除。
目录
腾讯云开发者

Copyright © 2013 - 2026 Tencent Cloud. All Rights Reserved. 腾讯云 版权所有
深圳市腾讯计算机系统有限公司 ICP备案/许可证号:粤B2-20090059  粤公网安备44030502008569号
腾讯云计算(北京)有限责任公司 京ICP证150476号 | 京ICP备11018762号